


Ember Baby Bottle Guide
Get started with your Ember Baby Bottle
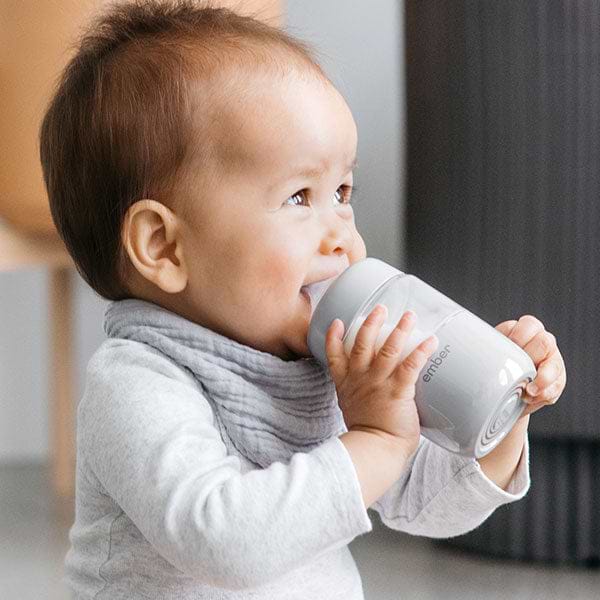
Learn how to best use the Ember Baby Bottle to feed at body temperature, every time. No more boiling, steaming or microwaving—and no outlet needed to warm.
Quick Start Guide
1. Charge the PuckPlug in the Smart Warming Puck using the provided Power Adapter. All five LEDs will be solid white when fully charged. |
2. Download the Ember Baby AppVisit the app store on your smart device and search for "Ember Baby" or tap one of the icons below. Download the app and follow in-app instructions to pair the Puck to your smart device. |
3. Fill the Baby BottleBefore first use, wash and sterilize Baby Bottle and nipples. Baby Bottle can be easily disassembled and washed in top-rack of dishwasher. Fill bottle with milk or formula and place onto the Puck. |
4. Start warmingDouble tap the button on the Puck or use the Ember App to begin warming. |
5. Ready for feeding!Once LEDs turn solid orange, the milk or formula has reached the perfect body temperature. |
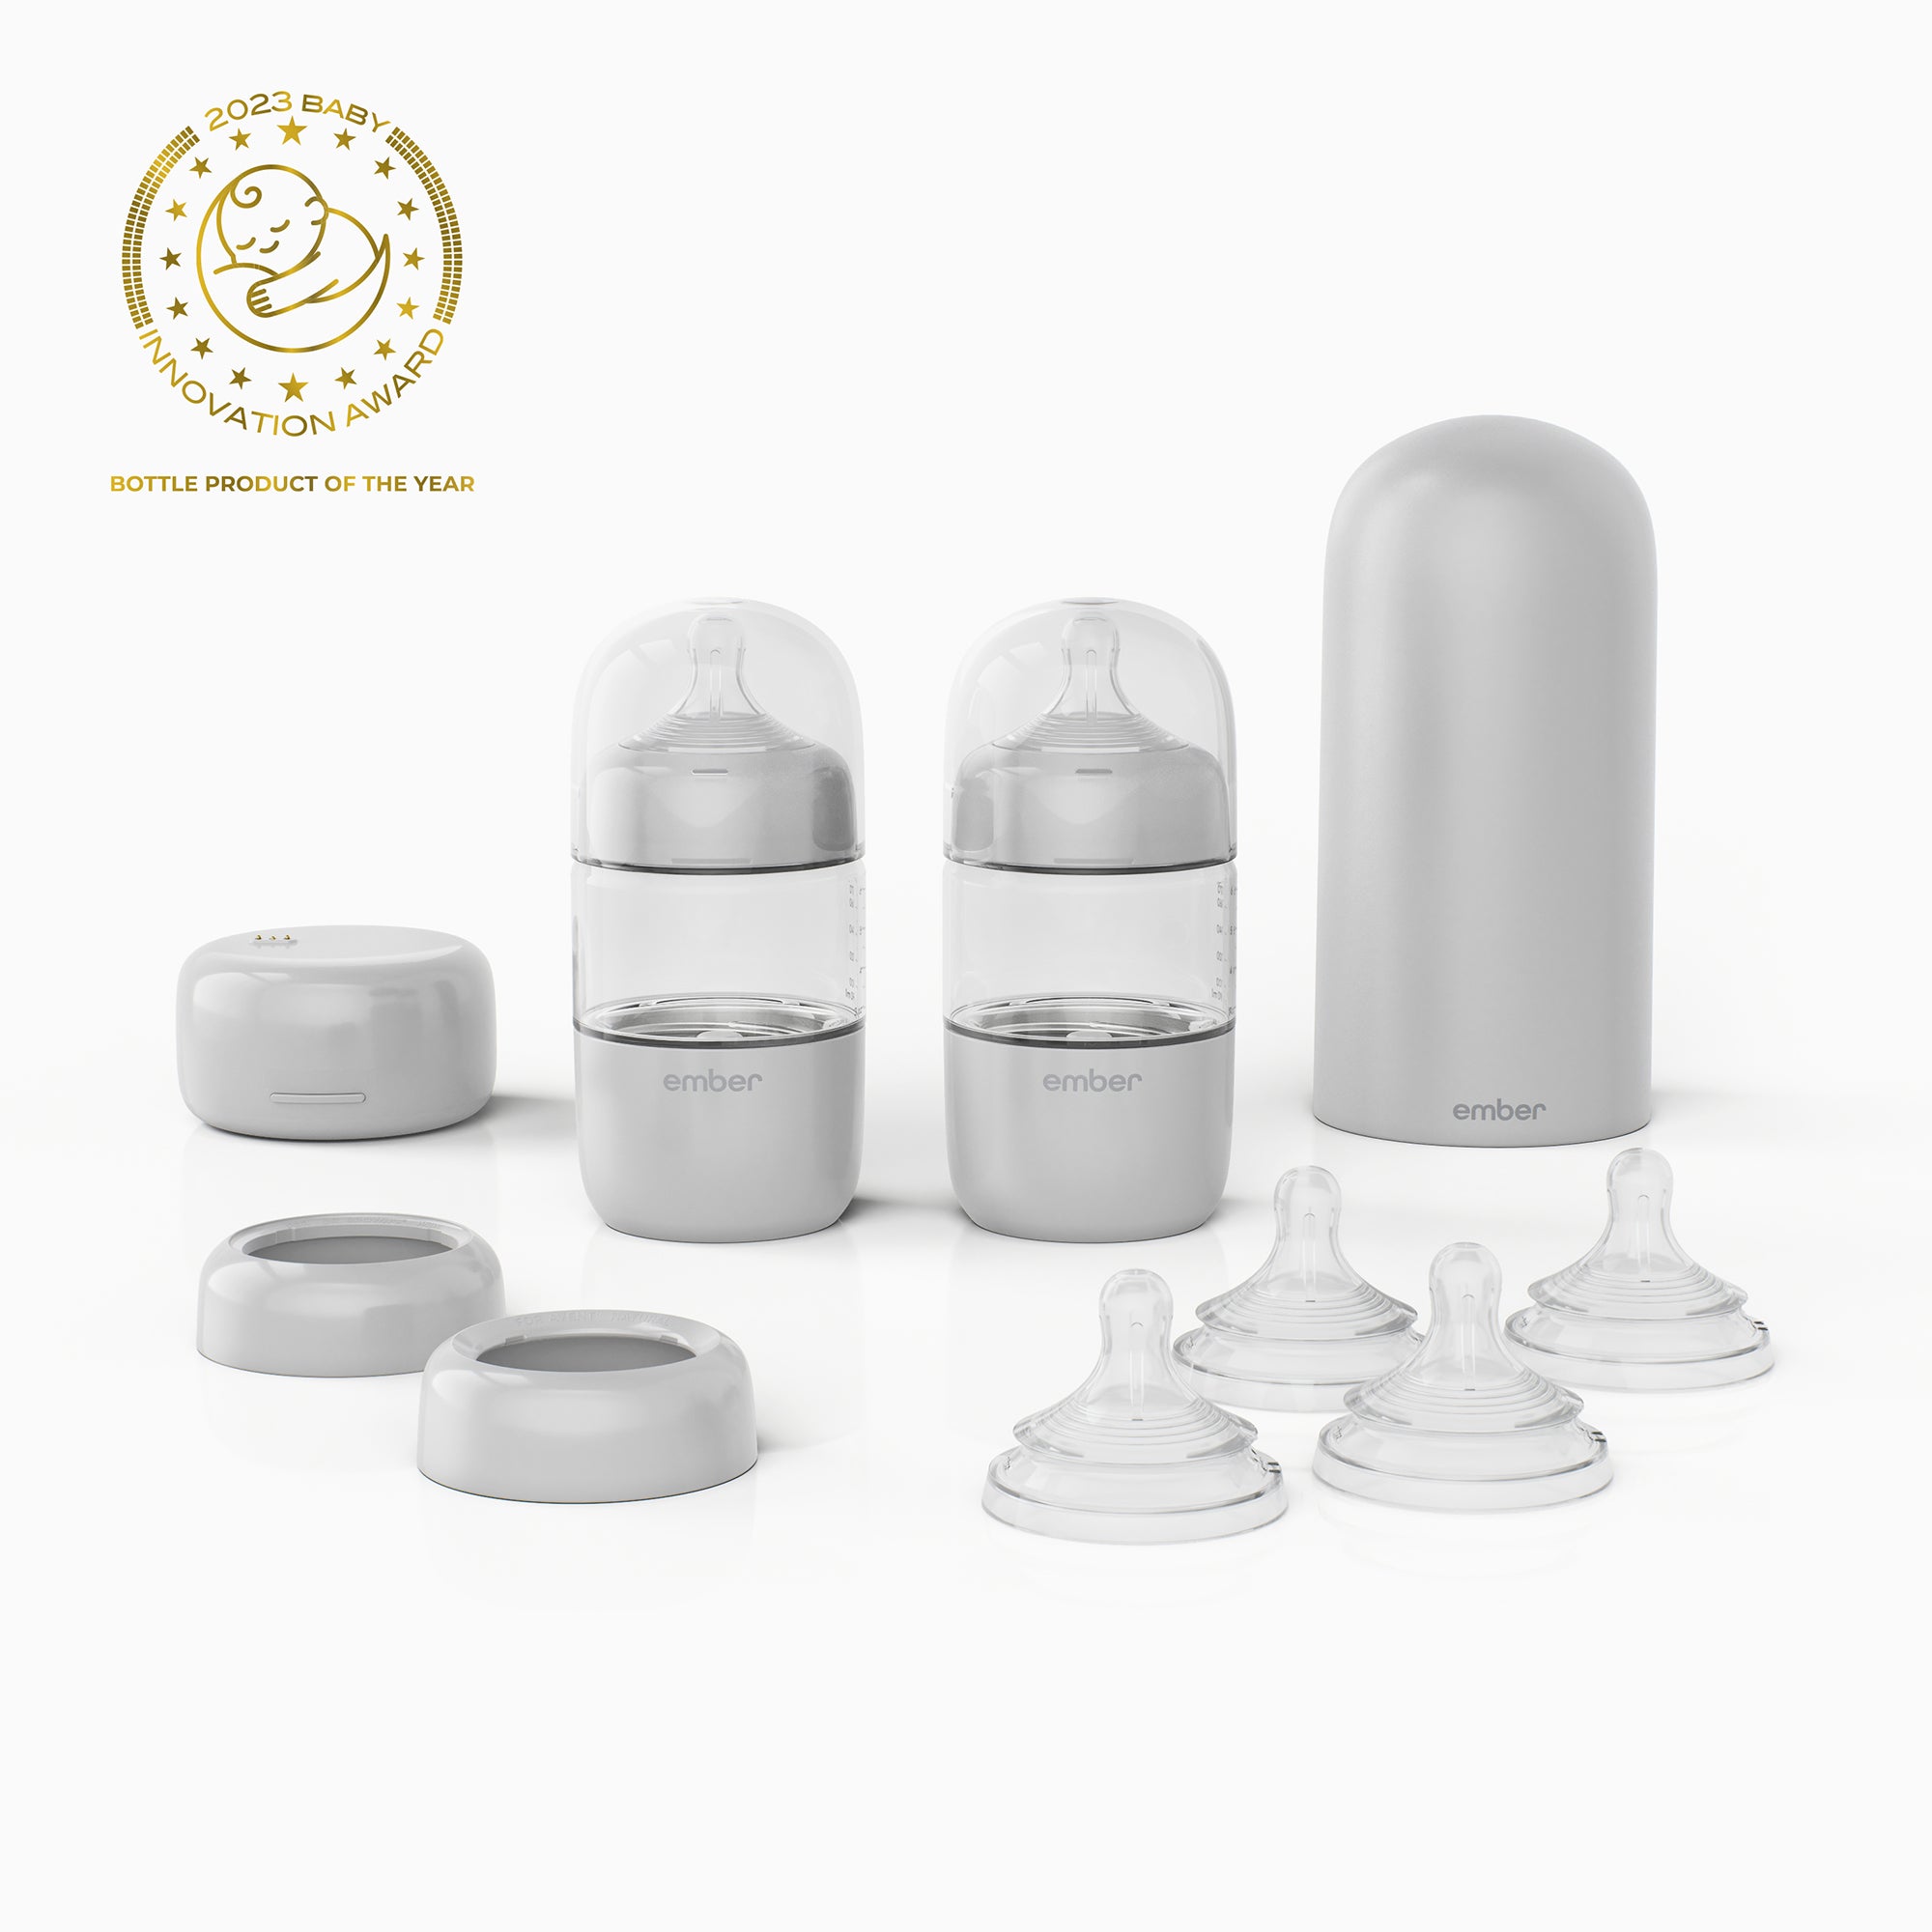
What's included in the System
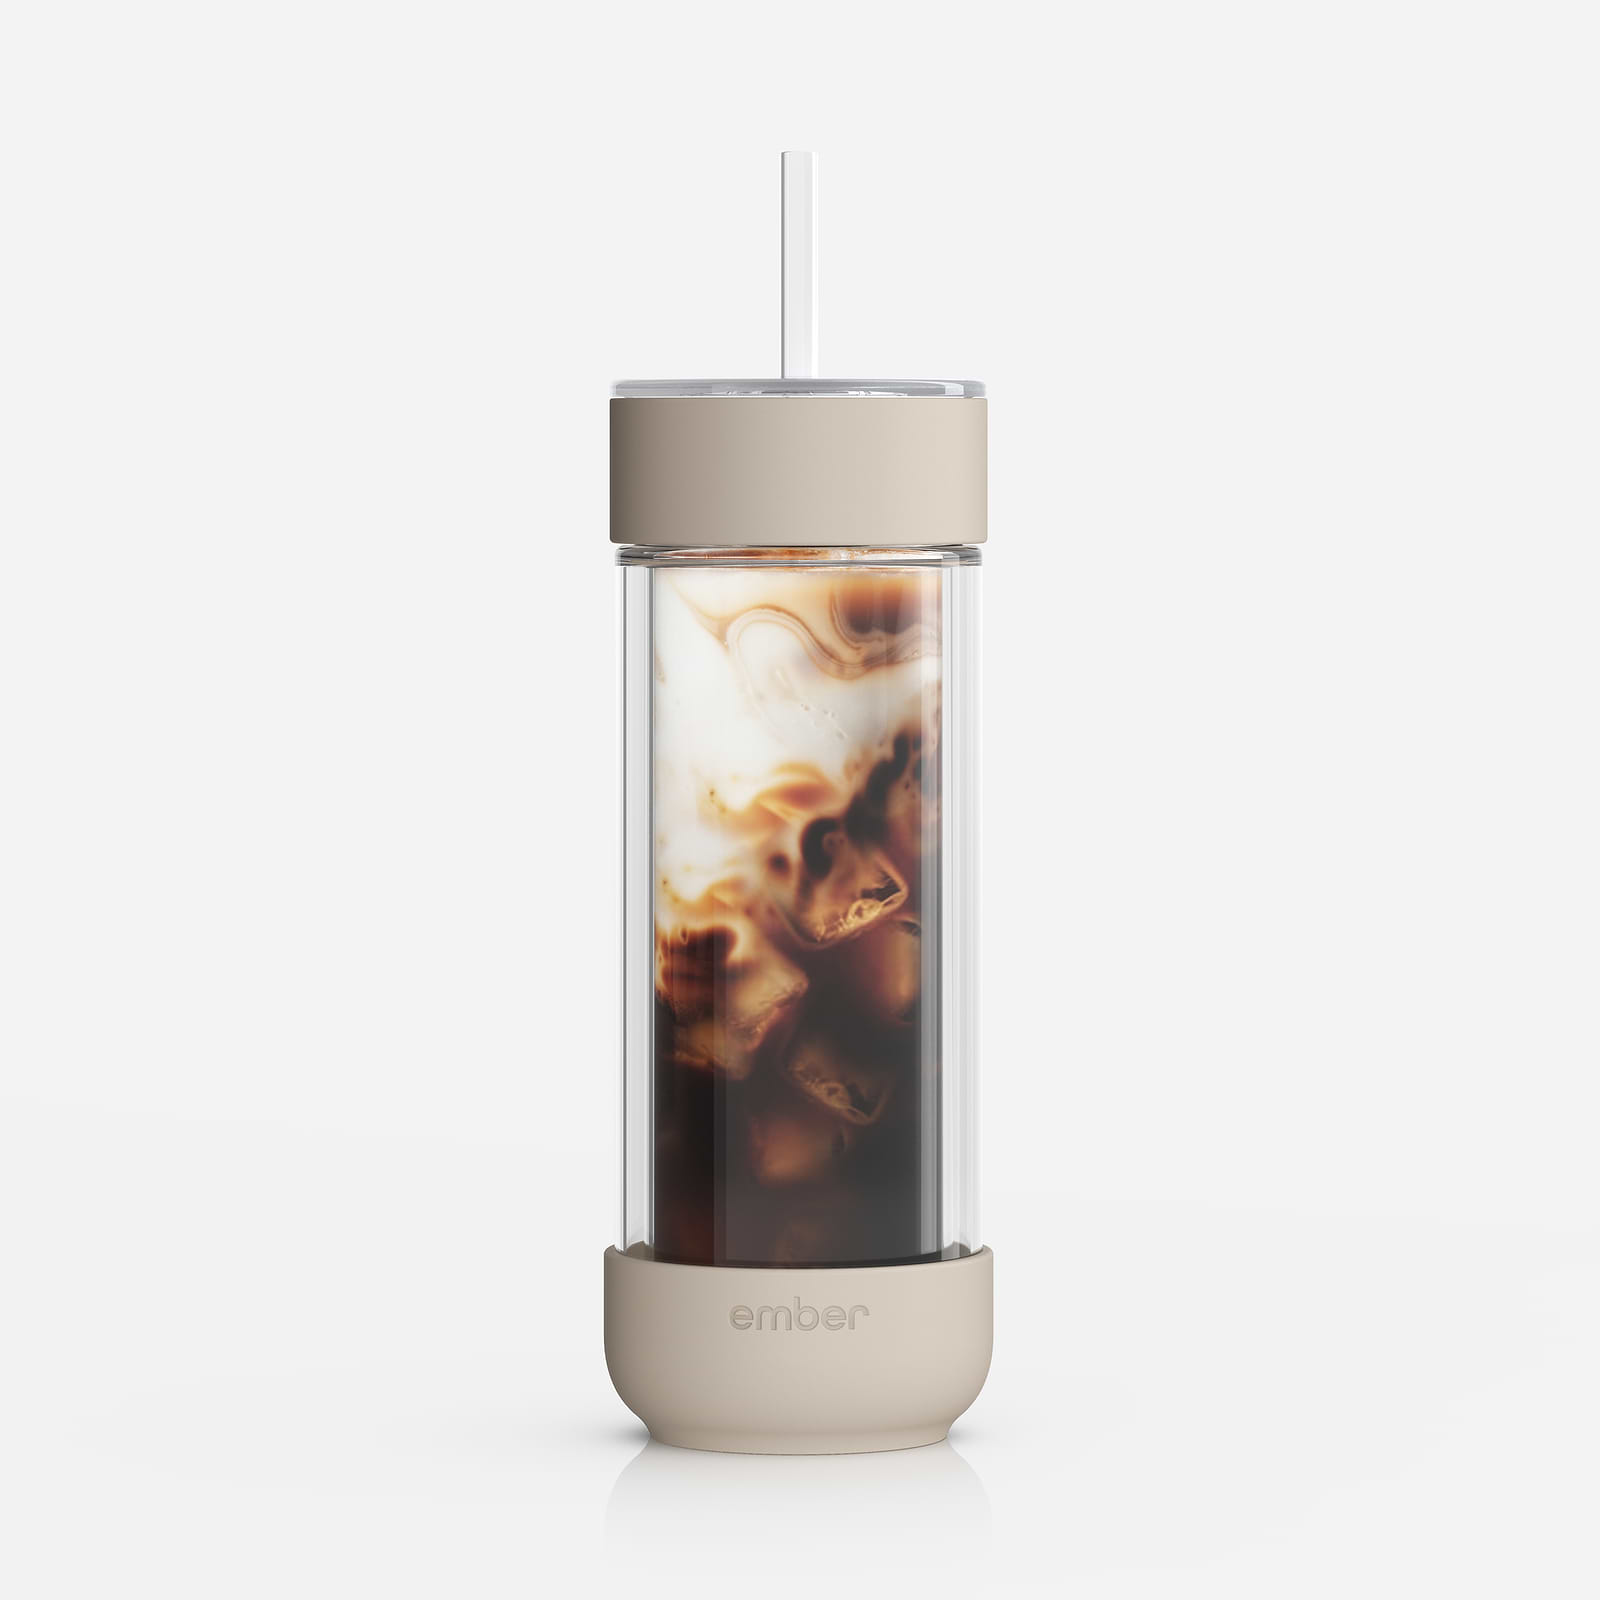
6 oz Baby Bottles (2x)
Includes Level 1 nipples for ages 0 months and older
Dishwasher safe (top rack only)
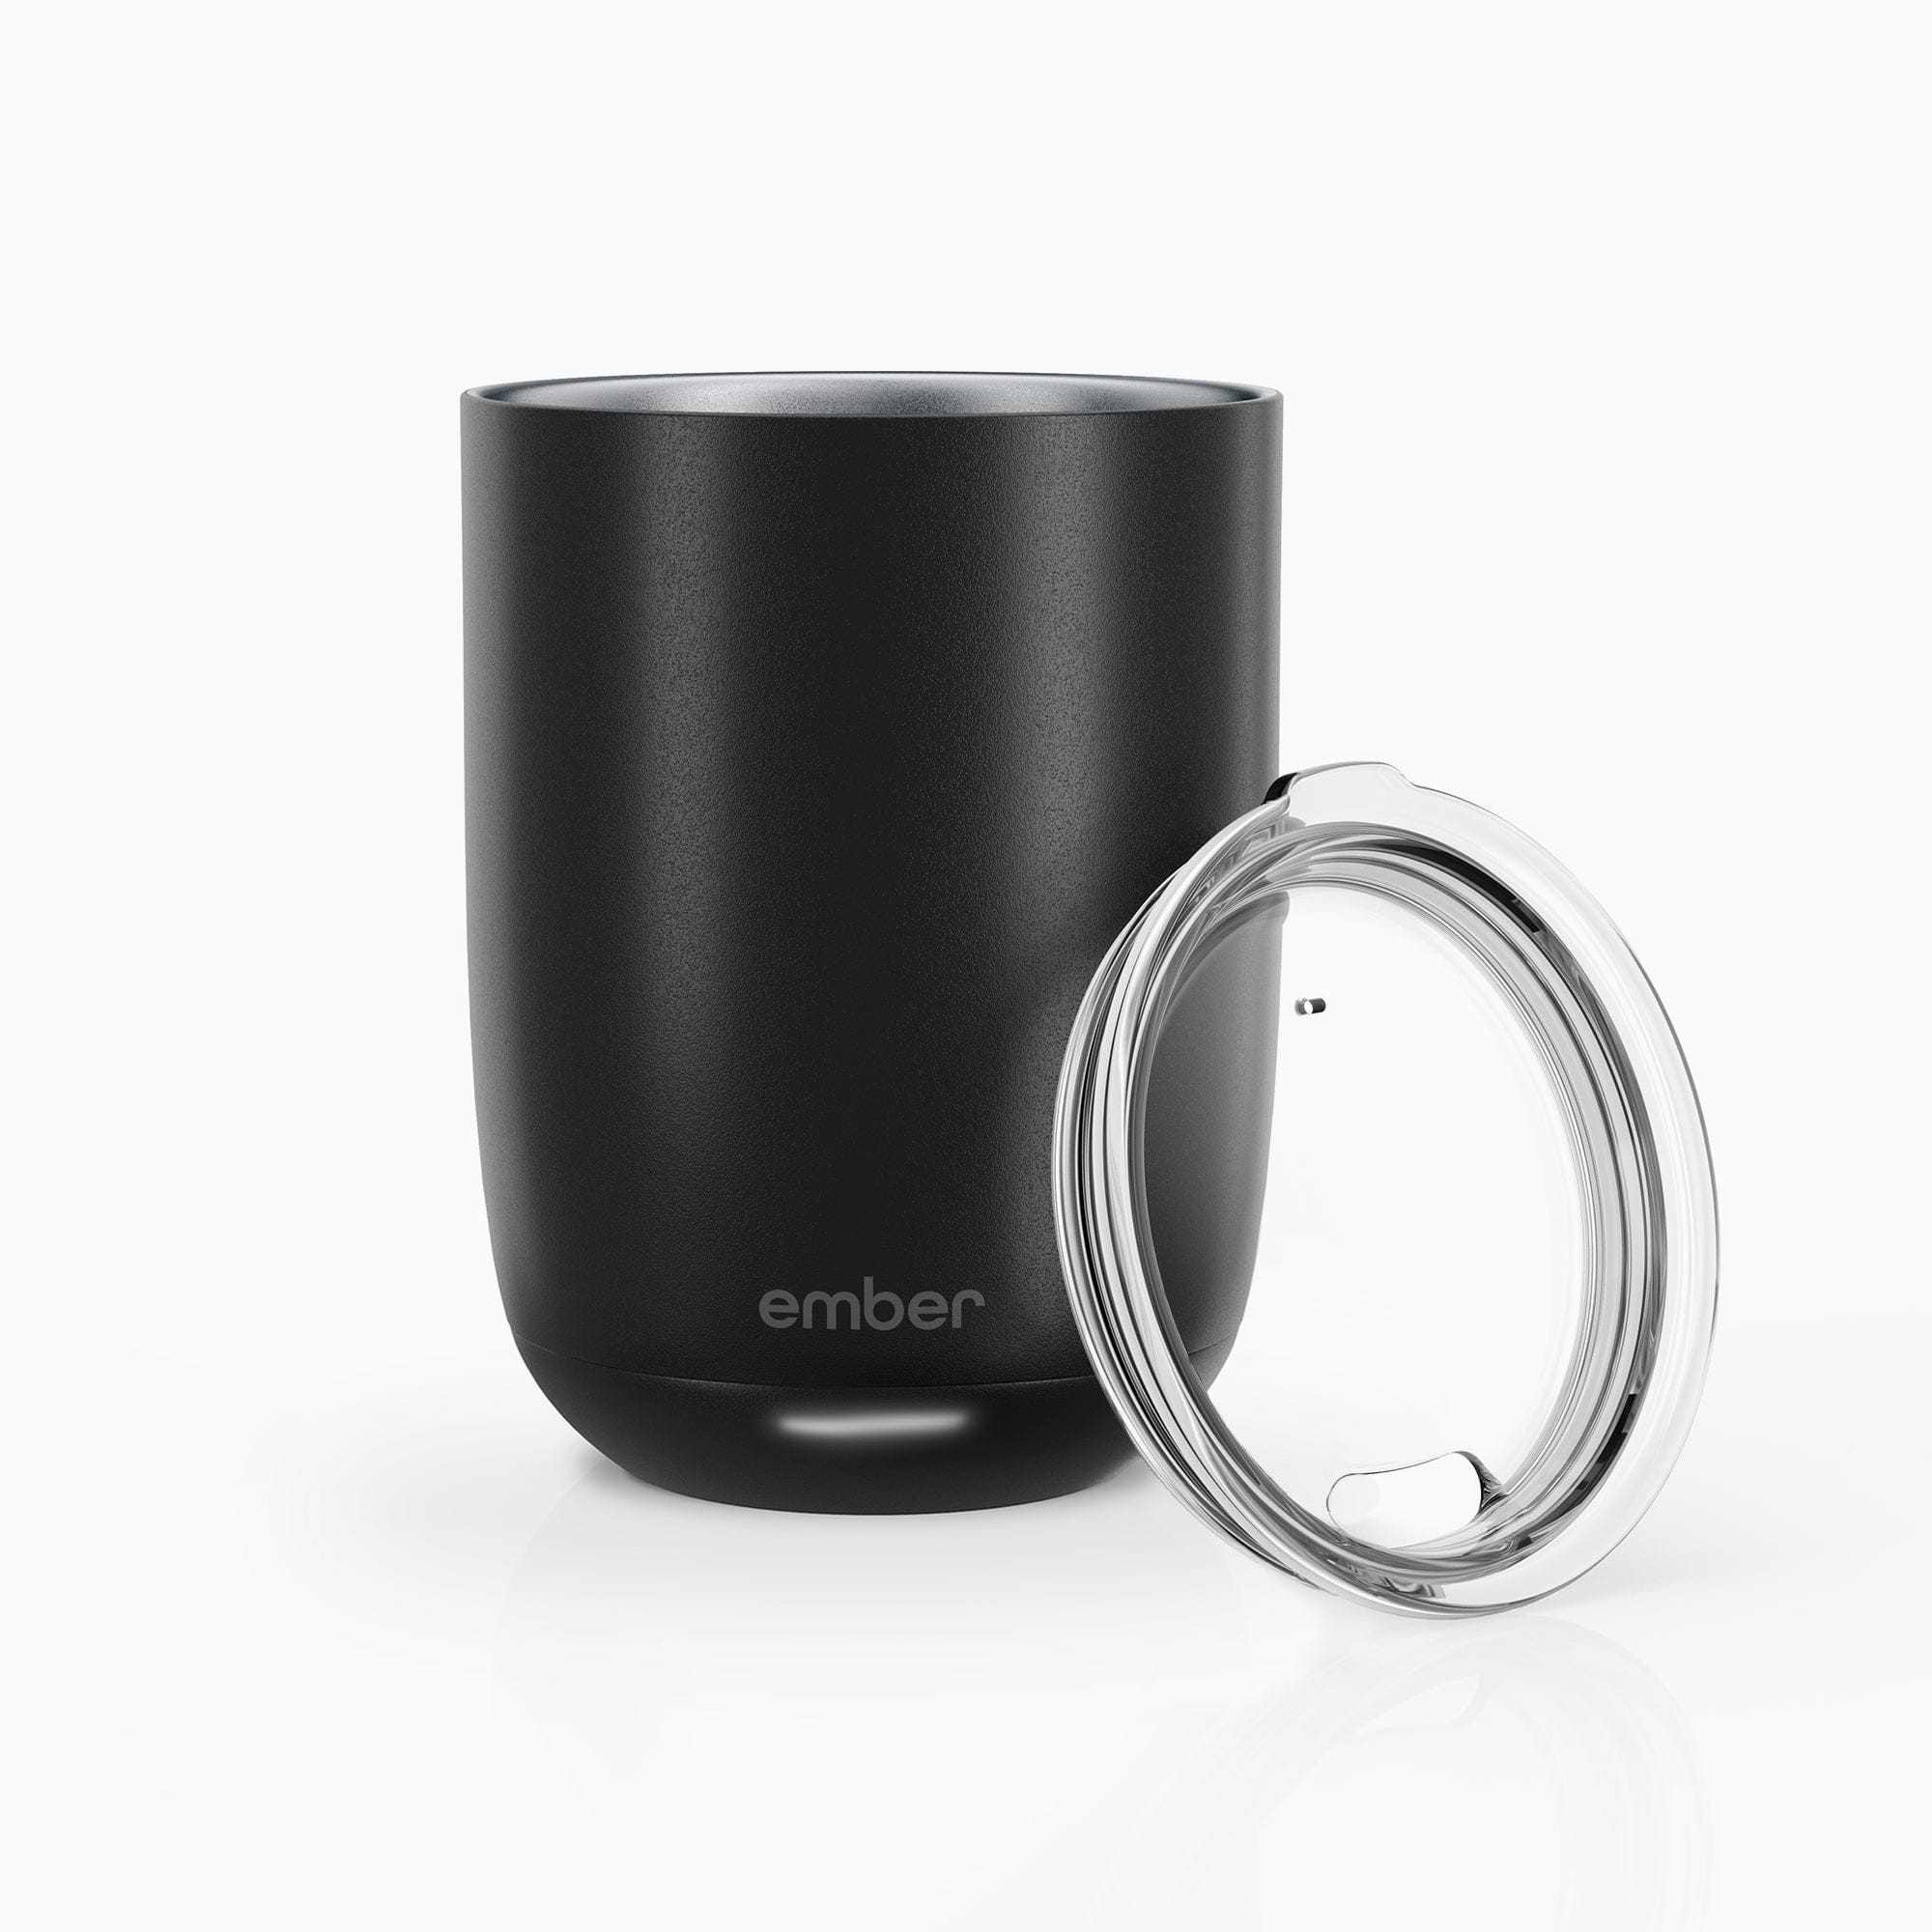
6 oz Insulating Thermal Dome
Keep milk cool at home or on-the-go for up to 4 hours¹
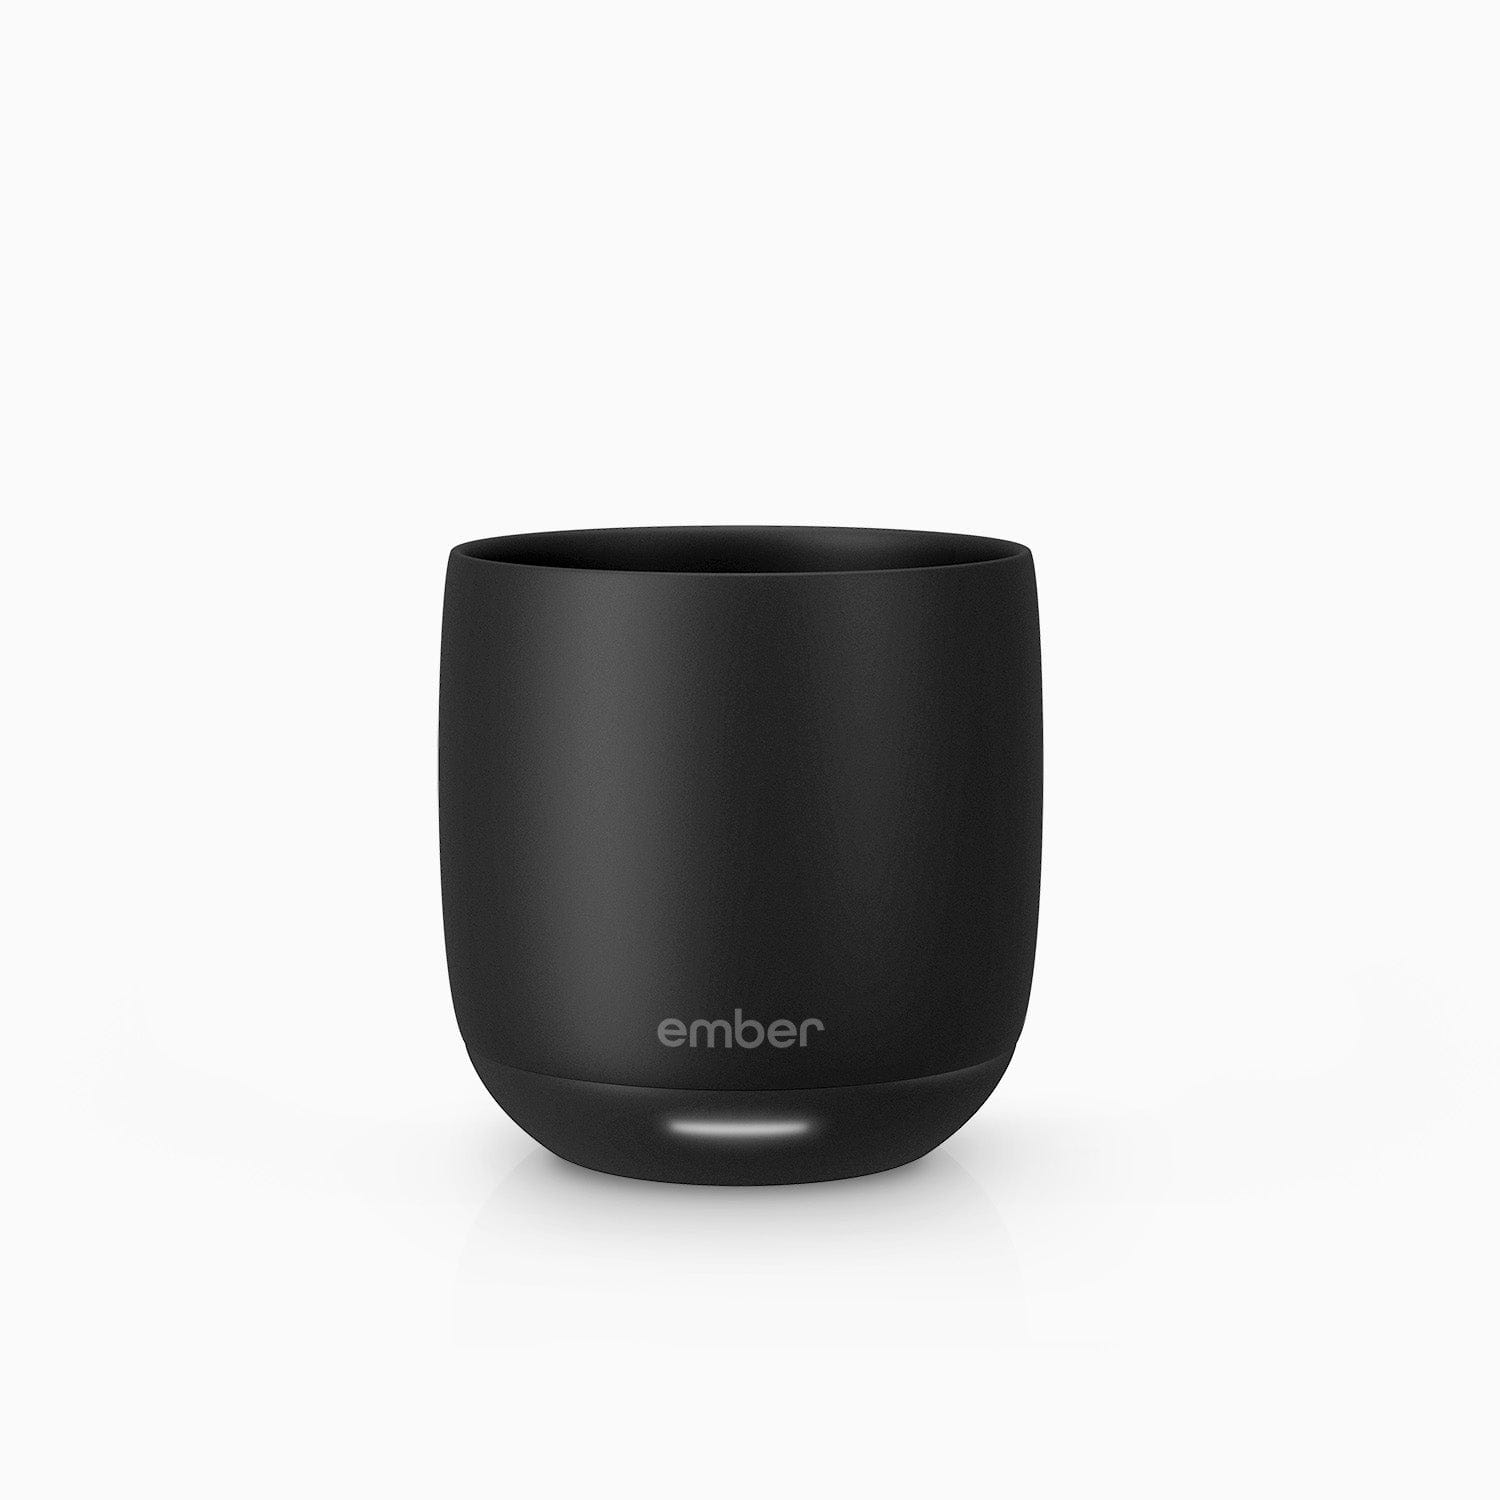
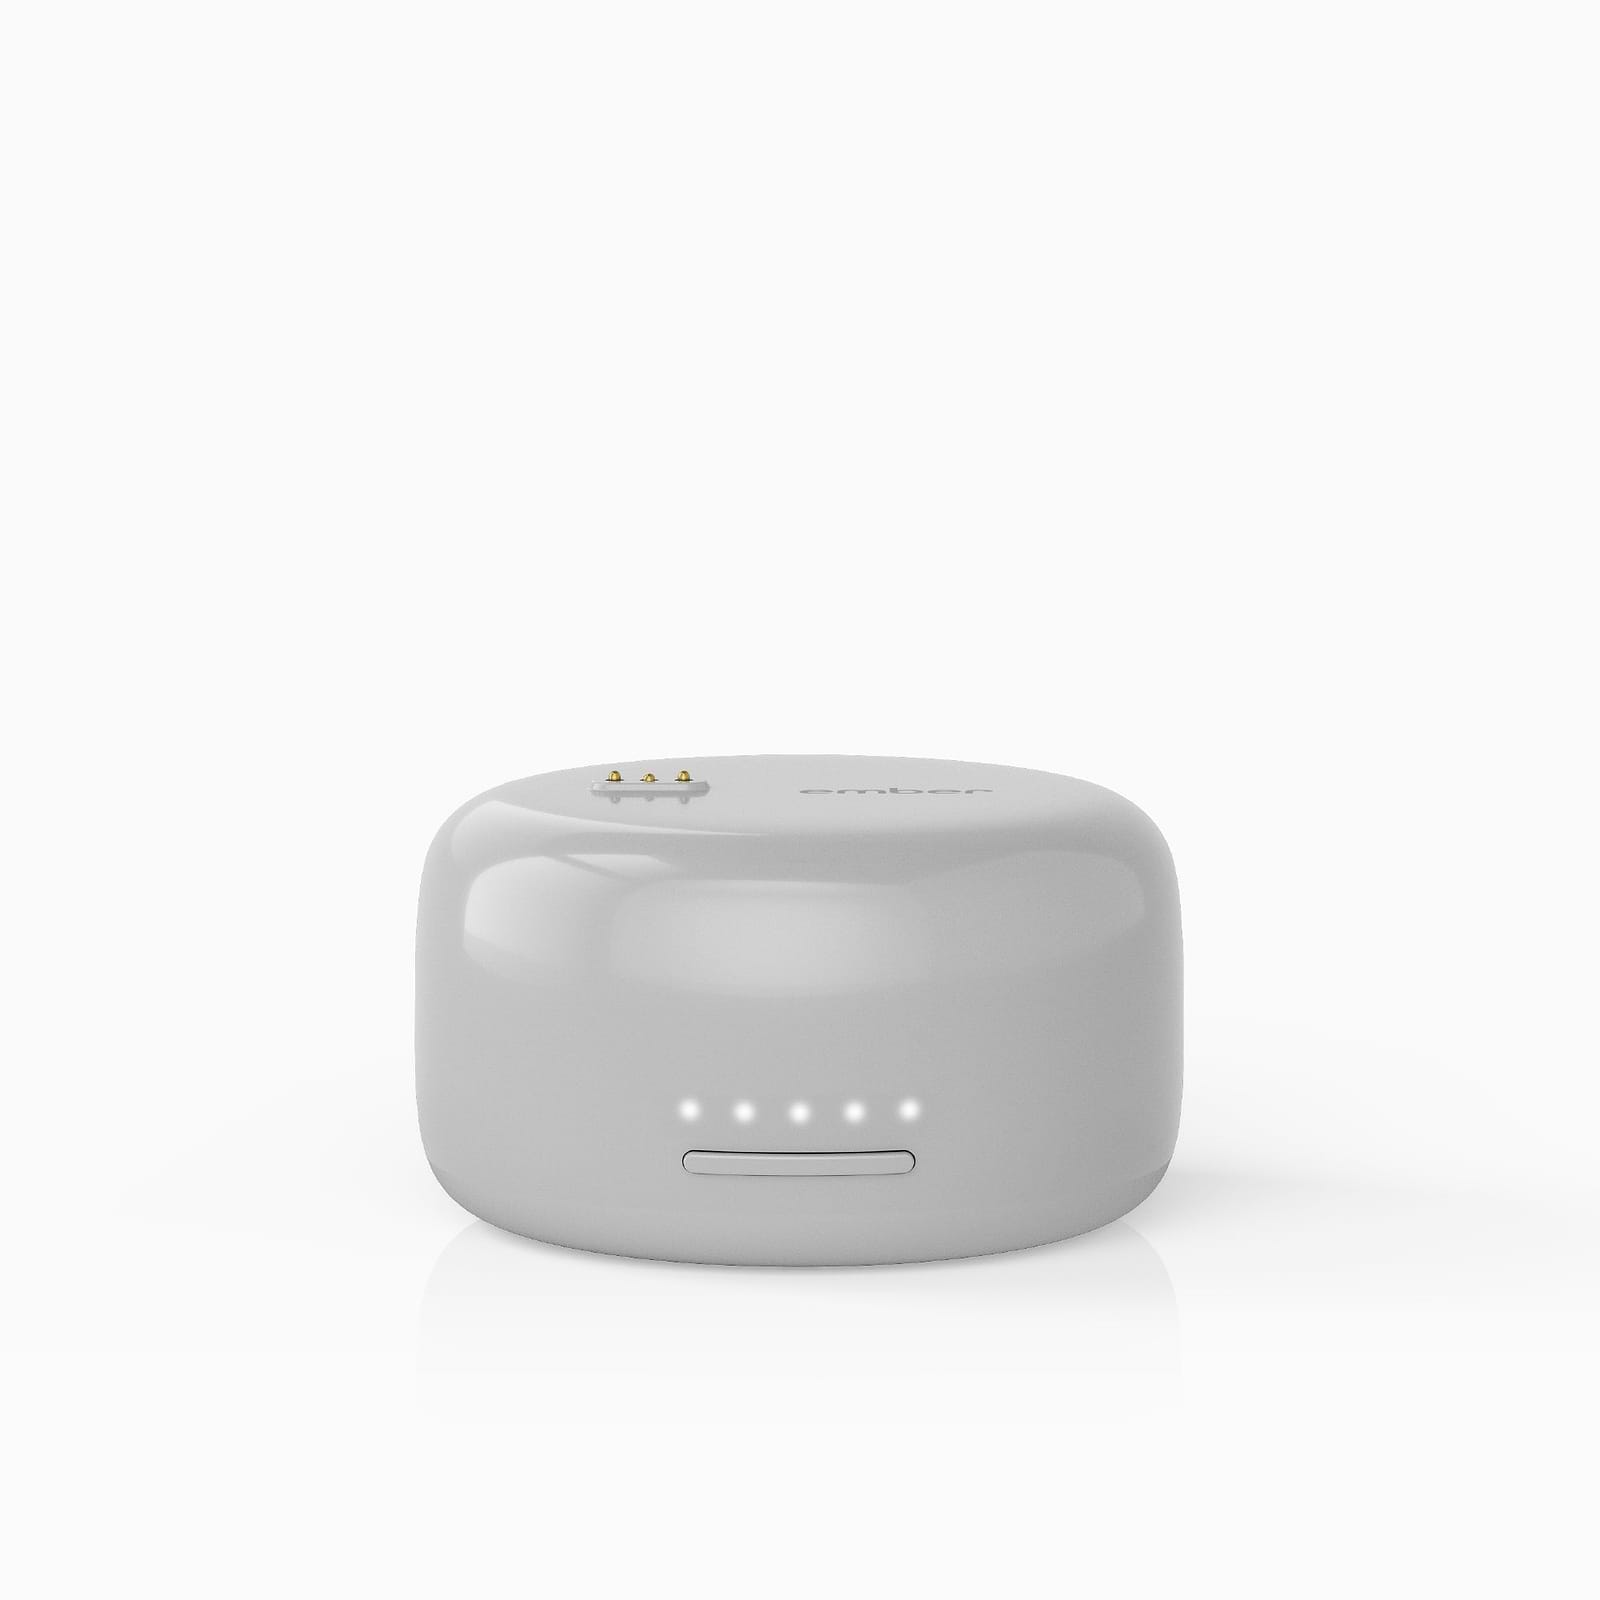
Smart Warming Puck
Warms the bottle wherever you are with a charge capacity for 2 feedings
Power Adapter
Keep your Smart Warming Puck charged and ready to go
Level 2 Nipples (2x)
For ages 3 months and older
Dishwasher safe (top rack only)
Level 3 Nipples (2x)
For ages 6 months and older
Dishwasher safe (top rack only)
Nipple Adapter for Dr. Brown’s™
Compatible with Dr. Brown’s™ Wide-Neck nipples²
Dishwasher safe (top rack only)
Nipple Adapter for Philips Avent™
Compatible with Philips Avent™ Natural nipples²
Dishwasher safe (top rack only)
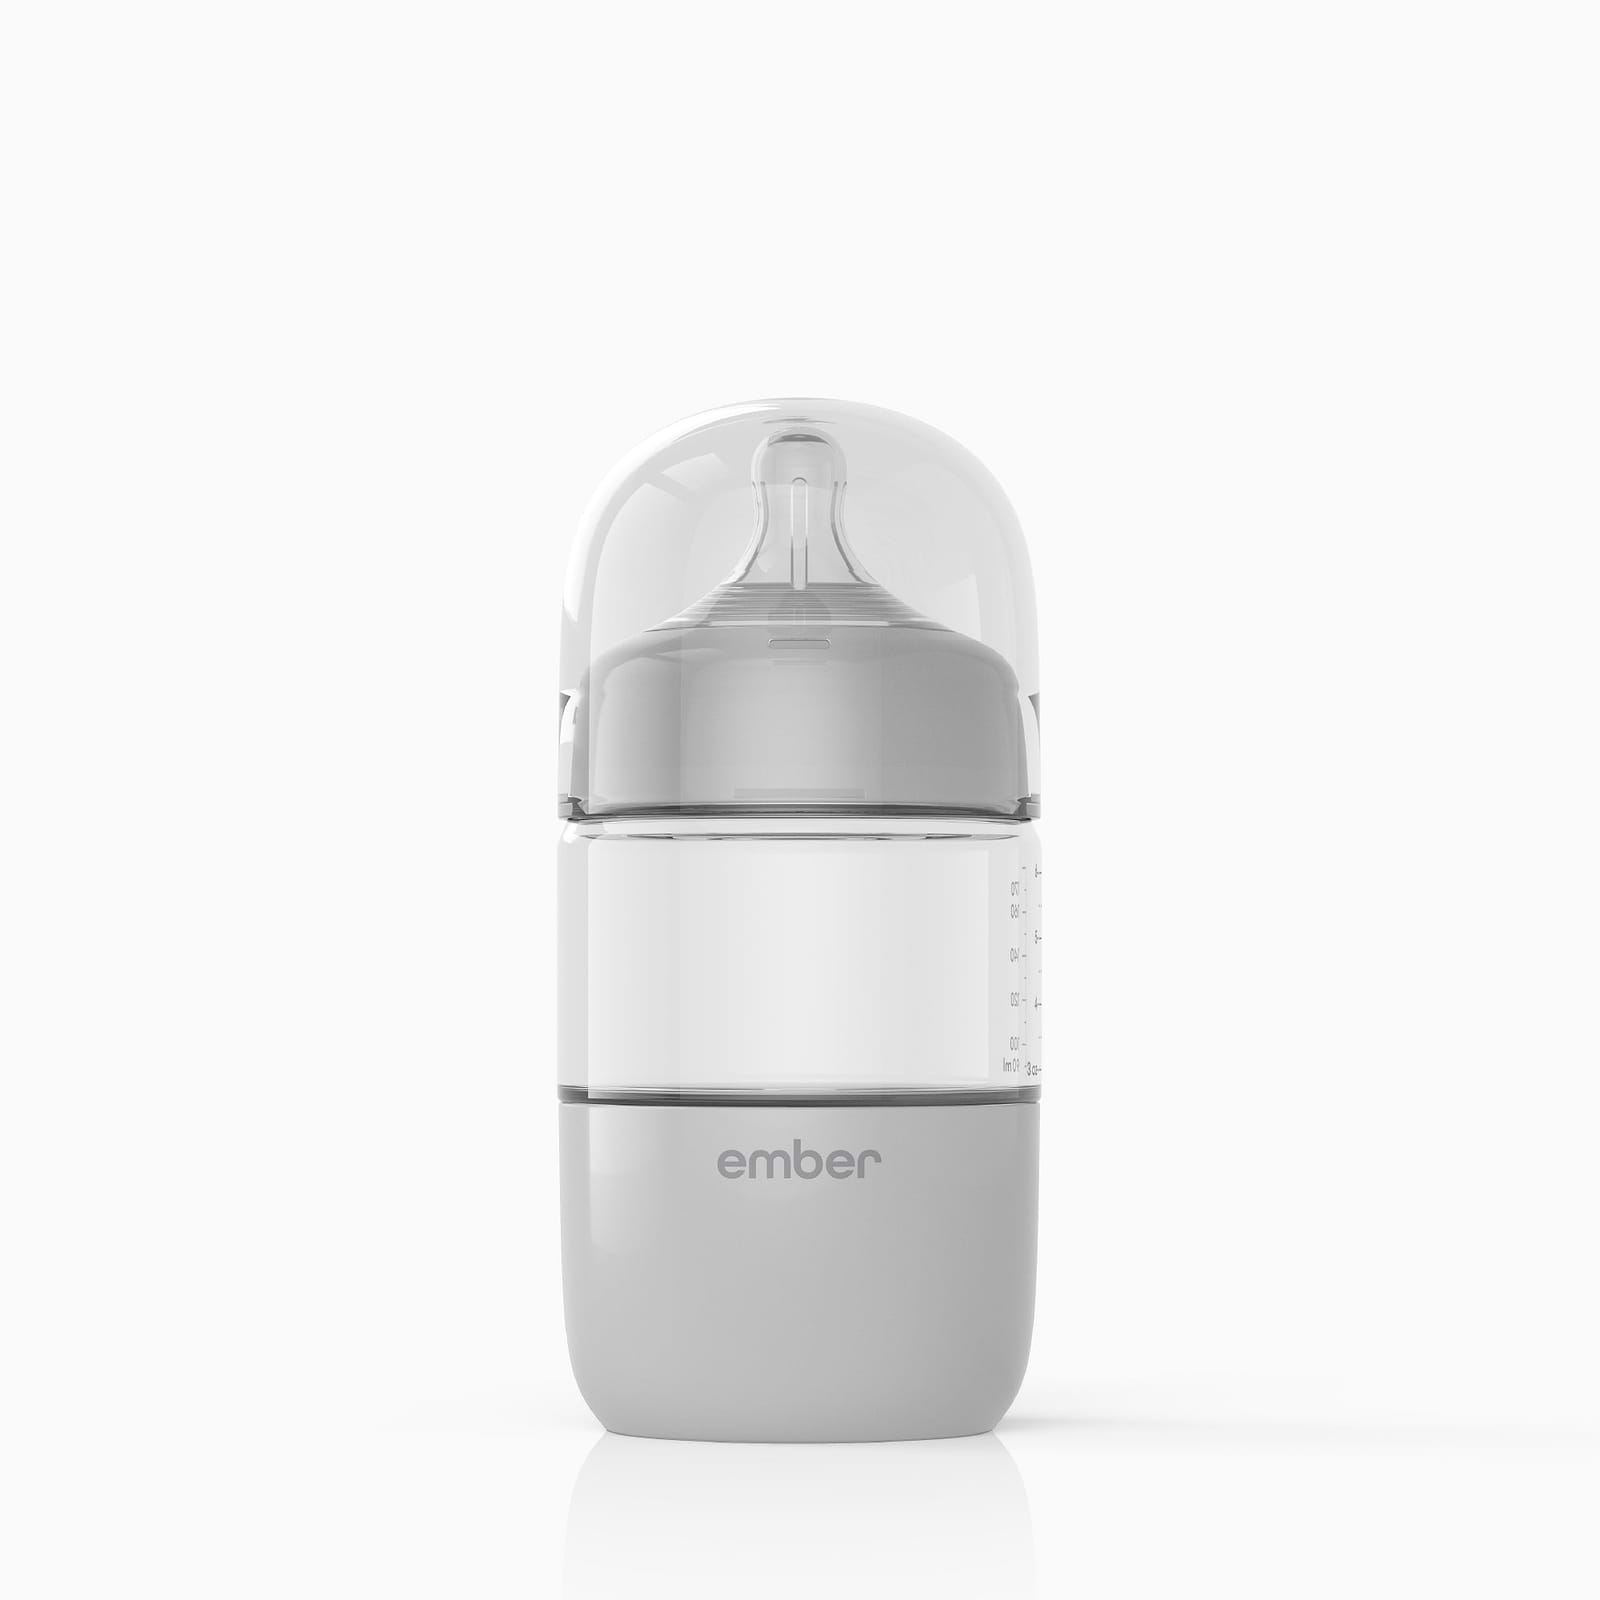
Get To Know The Ember Baby Bottle System
Baby Bottle
Cap
|
Nipple
|
Collar / Nipple Adapter
|
Bottle Body
|
Base
|
Insulated Thermal Dome
Insulated Thermal Dome
|
Smart Warming Puck
Smart Warming Puck
|
Nipple Flow Rates Explained
Ember offers four nipple options for varying ages and flow rates. As babies grow and get stronger, they will become more efficient at feeding and usually that means they need a faster flow rate. For a parent or caregiver feeding a growing baby, it's important to consider the nipple flow rate and stage of each nipple you choose to use. The nipple flow rate will make a difference, and the proper one will allow your baby to feed more efficiently.
It’s important to monitor each feed for signs your baby is ready for the next level. Some signs to watch for, such as taking longer than usual to finish feeding, falling asleep during feeding, or becoming irritated while feeding, will help alert you that it's time to move up to the next nipple size.
Level 1: Low flow rate that is ideal for babies aged 0 months and over.
Level 2: Medium-low flow rate that is ideal for babies aged 3 months and over.
Level 3: Medium-high flow rate that is ideal for babies aged 6 months and over.
Level 4: High flow rate that is ideal for babies aged 9 months and over.
If your baby prefers Philips Avent™ Natural™ nipples or Dr. Brown’s™ Wide Neck nipples, Ember offers collar/ nipple adapters to use².
Your First Warming
Before your first warming, ensure the Smart Warming Puck is fully charged using the provided Power Supply.
Start warming directly on the Smart Warming Puck
-
Fill up the assembled Ember Baby Bottle with breast milk, drinking water, or formula. We suggest mixing powdered formula after the warming process, however if mixing prior, ensure formula powder is well mixed³.
-
Place the Bottle on top of the Smart Warming Puck, making sure that the Smart Warming Puck is completely dry before placing the Bottle on top of it or connecting the Power Supply.
-
To begin, double tap the button on the front of the Smart Warming Puck.
-
The LEDs on the Smart Warming Puck progressively light up orange from left to right, indicating the warming progress.
-
Once warming is complete, all five LEDs on the Smart Warming Puck will light up with solid orange.
Warm remotely with the Ember Baby app
-
Fill up the assembled Ember Baby Bottle with breast milk, drinking water, or formula. We suggest mixing powdered formula after the warming process, however if mixing prior, ensure formula powder is well mixed³.
-
Place the Bottle on top of the Smart Warming Puck, making sure that the Smart Warming Puck is completely dry before placing a Bottle on top of it or connecting the Power Supply.
-
Open the Ember Baby app and select the Bottle you wish to warm. If disconnected, follow the steps to reconnect the Puck to your device.
-
Press “Start” and the warming process will begin.
Using the Ember Baby App
Now that you’ve successfully warmed a Bottle you can begin to track bottle feeding, breast feeding, and weight.
Creating your first baby’s profile
-
On the home screen, press “Stats”
-
If you have not previously created a baby profile, you can press the ‘+’ in the lower navigation to add your first child.
-
When prompted, add your child's name, date of birth, and gender. You can also add a photo of your child.
-
Press “Save” when finished.
Add a new or change baby profiles
-
Navigate to the “Stats” screen
-
Tap on child’s name at the top and and select the desired child or “Add new baby” from the drop down menu
How to add feeding events
-
Press the Teal ‘+’ button in the lower navigation.
-
Select one of the three options
-
Bottle icon - Bottle feeding
-
Brassiere icon - Breastfeeding
-
Scales icon - Weight
Adding a Bottle feeding event
-
To enter a Bottle feeding event select the amount your child drank by sliding the tick marks from left to right.
-
Choose a milk type from the drop down. If the milk type desired is not available, choose “Other.”
-
Select a date and time. By default, the current date and time is populated.
-
Press “Save.”
Adding a breastfeeding event
-
To enter a breastfeeding event, you can tap the timer by pressing the play button on the side you are breastfeeding on, and tap pause when done.
-
When switching sides, simply press play on the opposite side or you can pause and press play as needed.
-
Alternatively, you can input the amount of time spent feeding on either breast by tapping the time rows beneath the timer.
-
Select a date and time. By default, the current date and time is populated.
-
Press “Save.”
Adding a weight
-
To add a new weight, select the weight by sliding the tick marks from left to right.
-
Select a date. By default, the current date is populated.
-
Press “Save.”
View previous events
-
Press “Stats” icon in the lower navigation bar.
-
By default, the current date is selected. To navigate to past dates, swipe on the row of dates and select the date you’d like to view.
Cleaning
Before first use, clean and sanitize all parts. See below for cleaning instructions of each part.
Baby Bottles, Nipples, and Collars
Clean parts immediately after use to avoid dried milk residues and to prevent bacterial growth. To avoid spilling, always disassemble the Bottle by holding both the body and end cap firmly, then twisting the collar with the other hand. Pour any remaining contents out before disassembling the body and end cap.
Sanitize the disassembled parts in one of the following ways:
-
In boiling water
-
Place parts in a saucepan of sufficient capacity to cover all parts.
-
Fill with cold water until the parts are well covered.
-
Heat it up and allow to boil for 5 minutes.
-
Let bottle cool before removing/handling.
-
In the top rack of the dishwasher
-
All parts of the Bottle including the cap, nipples, collars, bottle bodies, and endcap are dishwasher safe.
-
Note: The Smart Warming Puck, Insulating Thermal Dome, and Power Supply are NOT dishwasher safe
-
In a common steam-sterilizer
-
Always follow your steam-sterilizer’s safety instructions. Do NOT sterilize Smart Warming Puck or Insulating Dome.
Insulating Thermal Dome
The Insulating Thermal Dome is hand wash only. Wash and rinse the Insulating Thermal Dome in warm, soapy water prior to first use and once daily. Rinse in clear water and allow parts to air-dry on a clean towel.
Smart Warming Puck
The Smart Warming Puck is an electronic device and should not be submerged or rinsed under water. Clean the Smart Warming Puck with a damp cloth, baby wipe, or alcohol wipe regularly. Ensure that both the Baby Bottle and Smart Warming Puck are completely dry before placing the Bottle on top of it or connecting the Power Supply.
Frequently Asked Questions
How long does the Ember Baby Bottle take to heat?
Once the bottle is filled with breastmilk or formula, the Smart Warming Puck can heat a 6oz baby bottle in under 5 minutes. The exact timing of each warming cycle depends on many factors, such as amount of milk/formula, thickness of milk/formula, initial temperature of milk/formula, ambient temperature of the room, resting time between warming cycles, etc.¹
What temperature does the Ember Baby Bottle heat to?
The Ember Baby Bottle warms to body temperature (approximately 98.6°F). Ember’s patented technology uses triple redundancy protection in the bottle to make sure the liquid temperature is safe. Power will be cut off to the bottle if any of the three protection limit sensors are tripped or the liquid gets too hot. There are also safety circuits to monitor the puck and bottle temperatures and the battery temperature.
Can I warm the Ember Baby Bottle without the Ember Baby App?
Yes! Although the Ember Baby App allows for easy warming remotely from your smartphone, you can still warm the bottle without it. With the filled bottle placed on the Smart Puck, you can simply double press the button to begin warming. Without the app, you will not be notified of when the bottle is ready, but you can see the LEDs on the front of the Smart Puck. Five solid orange lights mean it’s ready for drinking!
How long does the Smart Puck charge last?
A single charge can provide two full warming cycles. The exact number of cycles depends on many factors, such as amount of milk/formula, thickness of milk/formula, initial temperature of milk/formula, ambient temperature of the room, etc.
If the bottle is left on the Smart Puck after a full warming, the Smart Puck will keep the milk warm for up to 30 minutes, until powering off the heater.
In sleep mode, a full charge can last more than 2 months.
Troubleshooting
Smart Warming Puck LED meanings
Single/Multiple Solid White
White LEDs will indicate battery level, with five LEDs representing full charge and one light with low battery
Single Flashing White
Low Battery, time to charge
Single Flashing Blue
Pairing mode
Progressive Breathing Orange
Heating is in progress. LED progressively light up orange from left to right
Solid Orange
Bottle is at body temperature and ready for feeding
Rapid Flashing Red
Heating Warning Remove Bottle, verify liquid temperature, and place Bottle back on Puck
Alternating Rapid Flashing Magenta
Communication Error (Between Puck and Bottle)
Alternating Rapid Flashing Green
Rebooting
Solid Green
Factory restore
Smart Puck Warnings
If you are experiencing an error, you can clear it by removing the Baby Bottle from the Smart Warming Puck and pressing the button on the front of the Puck.
If that does not clear the error, please try the following:
-
Make sure the pogo pins (three gold pins on top of the Smart Warming Puck) are clear of debris
-
Make sure that the top of the Smart Warming Puck is dry
-
Make sure the bottom of the Bottle is clear of any debris and is dry
If you are still experiencing issues, contact us at www.support.ember.com
How do I update firmware of the Smart Puck?
We are constantly making improvements to our technology to make your Smart Puck the very best and safe it can be. To take advantage of these improvements, updating the firmware is required.
Updating the firmware will require the use of the Ember Baby App. After the Smart Puck is paired, new firmware will be downloaded and updated. You will be notified in the app if additional firmware is available and can be updated by clicking on the Smart Puck in the list of devices, and scrolling down until you reach “Device Info.” Select “New Update Available” to update the firmware.
Connectivity Issues
The Smart Warming Puck connects to your device via Bluetooth. If you are experiencing issues connecting to your device please follow the steps below.
-
Ensure Bluetooth is enabled on your device. You can do this by going into your device's settings and in Bluetooth check to make sure that Bluetooth is enabled.
-
In pairing mode a blue LED will flash on the Smart Warming Puck. To put the Puck into pairing mode, locate the power button on the bottom of the Smart Warming Puck then press and hold the power button for roughly five seconds and release when the center LED starts flashing blue.
-
Your device and the Smart Warming Puck should be within at least 20 feet of each other to connect well. If you're having issues, try bringing the devices closer together. Walls and other obstructions will limit the range.
-
Check to see if there are more than four devices already connected to the Smart Warming Puck. If this is the case you will need to disconnect one device before you can connect another.
-
Find the Smart Warming Puck in your list of Bluetooth devices. Tap the desired Puck and select "Forget this Device." Put the Puck into pairing mode and pair to your device again.
-
Turn all of your devices off, and then on again. Try connecting once more.
If you are still experiencing connectivity issues, contact us at www.support.ember.com
Important Safety Instructions
When using this product, basic safety precautions should always be followed to avoid serious injury or property damage, including the following:
-
WARNING: Read all safety warnings and instructions. Failure to follow the warnings and instructions may result in electric shock, fire and/or serious injury.
-
Do not microwave. Do not place on or near a hot gas or electric burner, or in a heated oven.
-
This appliance is not intended for use by persons (including children) with reduced physical, sensory or mental capabilities, or lack of experience and knowledge, unless they have been given supervision or instruction concerning use of the appliance by a person responsible for their safety.
-
Close supervision is necessary when any appliance is used by or near children to ensure that they do not play with the appliance.
-
Using the appliance for purposes other than described in the User Instructions may result in injury.
-
To protect against electrical shock do not immerse power supply, cord, plugs, or Smart Warming Puck in water or other liquid.
-
Unplug from outlet when not in use and before cleaning. Allow to cool before putting on or taking off parts.
-
Avoid spillage of liquid on any connector.
-
The Smart Warming Puck is only to be used with the power supply unit PS5000 provided with the appliance.
-
Do not use the power supply unit with another device.
-
The Baby Bottle is only to be used with Smart Warming Puck unit provided with the appliance.
-
Do not operate any appliance with a damaged cord or other component or after the appliance malfunctions or has been damaged in any manner. Return appliance to the study owner for examination, repair, or adjustment.
-
The use of accessory attachments not recommended by the appliance manufacturer may cause injuries.
-
Do not charge the Smart Warming Puck outdoors.
-
Do not leave cord within child’s reach (more than 3ft/1m away).
-
Do not place the Smart Warming Puck, Insulating Dome, or Power Supply with attached cable within child’s reach.
-
Do not let cord hang over edge of table or counter or touch hot surfaces. The cord should be arranged so that it will not drape over the countertop or tabletop where it can be pulled on by children or tripped over unintentionally.
-
Extreme caution must be used when moving an appliance containing hot liquids.
-
Do not use appliance for other than intended use.
-
Do not alter the product or parts of it in any way. This may result in unsafe functioning of the product.
-
Save these instructions.
Additional safety instructions specific to Smart Warming Puck and Power Supply:
-
When removing the power supply from an outlet, do not touch the prongs for the first 5 seconds after removal for risk of minor shock.
-
Before using Smart Warming Puck, inspect pogo pins for any debris. Do not use if debris is present. Always wipe off the debris with a dry cloth.
-
If Smart Warming Puck is dropped, do not use and please notify study owner even if no cracks or damage is visible.
-
Household use only.
-
Do not use outdoors.
-
Prevent unintentional starting. Ensure the switch is in the off-position before picking up or carrying the appliance. Carrying the appliance with your finger on the switch or energizing appliance that have the switch on invites accidents
-
Under abusive conditions, liquid may be ejected from the battery; avoid contact. If contact accidentally occurs, flush with water. If liquid contacts eyes, additionally seek medical help. Liquid ejected from the battery may cause irritation or burns.
-
Do not use a battery pack or appliance that is damaged or modified. Damaged or modified batteries may exhibit unpredictable behavior resulting in fire, explosion or risk of injury.
-
Do not expose a battery pack or appliance to fire or excessive temperature. Exposure to fire or temperature above 130°C may cause explosion. The temperature of 130°C can be replaced by the temperature of 265°F.
-
Follow all charging instructions and do not charge the battery pack or appliance outside of the temperature range specified in the instructions. Charging improperly or at temperatures outside of the specified range may damage the battery and increase the risk of fire.
-
The charging temperature of battery cell is between 4°C-36°C, and you can assess the ambient temperature suitable for battery charging, discharging and storing.
-
Have servicing performed by a qualified repair person using only identical replacement parts. This will ensure that the safety of the product is maintained.
-
Do not modify or attempt to repair the appliance or the battery pack (as applicable) except as indicated in the instructions for use and care.
-
The battery must be removed from the appliance before it is scrapped.
-
The appliance must be disconnected from the supply mains when removing the battery.
-
The battery is to be disposed of safely.
Additional safety instructions specific to Ember Baby Bottle:
-
Do NOT microwave the Bottle.
-
Before using Baby Bottle, bottom of bottle should be clean of any debris.
-
If Baby Bottle is dropped, inspect for any cracks. If cracks observed, do not use and please notify study owner.
-
Do not place the container in a heated oven.
-
Milk/formula should be used immediately after warming and disposed of after 2 hours (even if kept in the fridge).
-
It is not recommended to freeze the bottle or warm frozen milk. Please thaw milk before using.
-
Drinks other than milk, baby formula and water, such as fruit juices and flavored sugary drinks should not be used.
-
Do not let your child walk or run with a container filled with hot liquid.
-
Prior to first use, sanitize by boiling in water for 5 minutes. For day-to-day cleaning, wash with hot water and mild detergent then rinse clean.
Additional safety instructions specific to the nipple:
-
Prior to first use, sanitize by boiling in water for 5 minutes. For day-to-day cleaning, wash with hot water and mild detergent then rinse clean. For hygiene and safety, replace nipple after about 2 months or if showing signs of wear.
-
Never use feeding nipples as a pacifier/soother to prevent choking hazard.
-
To prevent possible choking hazard, inspect regularly, especially when baby is teething. If nipple becomes cracked, torn, or shows other signs of wear, discontinue use immediately. Do not attempt to enlarge hole in nipple as this will cause tearing.
-
Do not leave nipple in direct sunlight or heat, or leave in disinfectant (“sterilizing solution”) for longer than recommended as this may weaken the nipple.
-
Keep nipples in a dry, covered container.
-
Do not turn nipple inside out for cleaning. Damage could result.
Follow the directions for preparation and use:
-
Do not place in a heated oven or microwave.
-
Always use this product with adult supervision.
-
Do not let babies drink unsupervised with this bottle.
-
Keep all components not in use out of the reach of children.
-
Do not allow child/infant to play with small parts or walk/run while using bottles.
-
Always discard any breast milk that is left over at the end of a feed.
-
Do not use anti-bacterial cleaners or place components directly on surfaces that have been cleaned with anti-bacterial cleaners.
-
Plastic material properties may be affected by sterilizing and high temperatures. This can affect the fit of the cap.
-
Always use clean hands and surfaces when disassembling parts. Wash and rinse all parts thoroughly in hot soapy water and rinse clean or run parts through a dishwasher on the top rack using regular detergent. Do not clean with solvents or harsh chemicals.
-
Disassemble and wash components after each use.
Legal and Disclaimers
¹ Duration may vary based on the individual’s environment, milk/formula type, and usage. Milk and formula guidelines vary. Safe storage time for formula may be shorter. Consult with your pediatrician on safe milk/formula consumption and how to safely store milk/formula. Follow formula instructions. High temperatures and ambient conditions will decrease the length of time milk/formula can be stored using the Insulating Dome.
² Nipple adapter for Dr. Brown’s™ is compatible with, but not limited to, Dr. Brown’s™ Options+™ Wide-Neck nipples. Nipple adapter for Philips Avent™ is compatible with, but not limited to, Philips Avent™ Natural™ and Natural Response™ nipples. Ember is not affiliated with Dr. Brown’s™ or Philips Avent™. Dr. Brown’s™ or Philips Avent™ nipples are not included and must be provided by the customer.
³ Ensure formula powder is mixed before warming. This product is not designed to warm thickened baby formulas like rice cereal, bean gum, corn flour, or other formulas containing milk thickeners.
Warning! It is important to monitor the temperature of milk stored in the Ember Baby Bottle for extended periods of time. High temperatures and ambient conditions (e.g. a hot car or day at the beach) will decrease the length of time milk can be stored safely. According to the CDC, freshly expressed or pumped milk can be stored at room temperature (77°F or colder) for up to 4 hours.
EMBER AND WEBPAGE CONTRIBUTORS ARE NOT MEDICAL PROVIDERS AND DO NOT PROVIDE MEDICAL ADVICE OR MEDICAL CARE
The Ember Baby webpage (“Webpage”) contains general information about babies, feeding, sleeping and similar wellness topics. The information contained in the Webpage, including information provided by Dr. Tanya Altmann or other contributors to the Webpage (“Contributors”), is not medical advice and should not be used as a substitute for the medical care and advice of your pediatrician or other professional healthcare provider. There may be variations in treatment that your pediatrician or professional healthcare provider may recommend based on individual facts and circumstances. You should not delay seeking medical advice, disregard medical advice, or discontinue medical treatment because of information in or derived from the Dr. Altmann or Contributors. Statements and opinions expressed are those of the author and not necessarily those of Ember or Contributors.