There are a lot of reasons to love specialty coffee shops. The top notch espresso has to come in first, but the silky smooth steamed milk is a close second. In this guide, we’re breaking down how you can achieve that perfect steamed milk at home — or at least get pretty close.
Steamed vs. Frothed Milk
Steamed vs. frothed – similar but not quite the same. Steamed milk is made using a steaming wand that’s usually attached toan espresso machine. (Though there is astand-alone stovetop option as well). These wands inject steam into the milk to heat it and increase the volume. When it’s done well, the result is a consistent “microfoam” with a silky smooth texture that’s similar to wet paint.
The bubbly texture of frothed milk, on the other hand, is created by whisking, shaking, or pumping the milk until bubbles form. The resulting foam tends to be a bit drier, with a thick froth layer usually resting on top. Though this texture isn’t unpleasant and can still taste great, it’s tougher to create latte art with this type of foam.
What Temperature Should the Milk Be?
Our motto at Ember is “Temperature matters,” and the temperature of the milk in yourlattes andcappuccinos is no exception. Milk that’s too cold will have a hard time maintaining froth, and milk that’s overheated will take on an unpleasant cooked taste.
Most professionals recommend a temperature of about 140-149℉ (55-65℃). Of course, you likely aren’t reaching for a thermometer into your milk each time you make a latte, so use these tricks to gauge the temperature.
- If you’re using a metal steaming pitcher and steaming wand, remove from heat when the pitcher is just becoming too hot to touch comfortably but does not burn.
- If you’re heating milk on the stovetop, use no higher than medium heat and remove from heat as soon as you see steam start to rise. If a film forms on top of the milk or the milk sticks to the sides of the pan, you’ve overheated it.
- If you’re using a microwave, heat for about 20-30 seconds. It’s helpful to use a thermometer the first couple of times until you know exactly what time will help you reach optimal temperature.
How to Steam Milk Using a Steamer: Step by Step
If you have an espresso machine with a steaming wand or stand-alone steaming wand, use these instructions to perfectly steam milk at home.
How to Use a Steamer:
- Pour about 6-8 oz of milk into a metal steaming pitcher for a single latte.
- Preheat your water if necessary and purge your steaming wand. Some at-home steaming wands produce very watery steam when they are first turned on, leading to watery milk. If this is the case with yours, purge it for a few seconds into a separate cup and discard the water.
- Place the wand to the side of the pitcher at a slight angle, resting in the spout of the pitcher. This helps create a vortex in the milk, leading to a silky texture.
- Turn the steaming wand on full power immediately.
- Lower the pitcher slightly until the wand is near the top of the milk but still submerged. Once the milk has increased in volume by about 20%, raise the jug again until the wand is submerged another inch or so. Allow the milk to continue to swirl for a few more seconds.
- Once the bottom of the pitcher is starting to get too warm to touch comfortably, turn the steaming wand off.
- Tap the pitcher firmly on the counter and gently swirl the milk to break up any bubbles.
- Don’t forget to wipe and purge your steaming wand.
How to “Steam”/ Froth Milk at Home without a Steamer
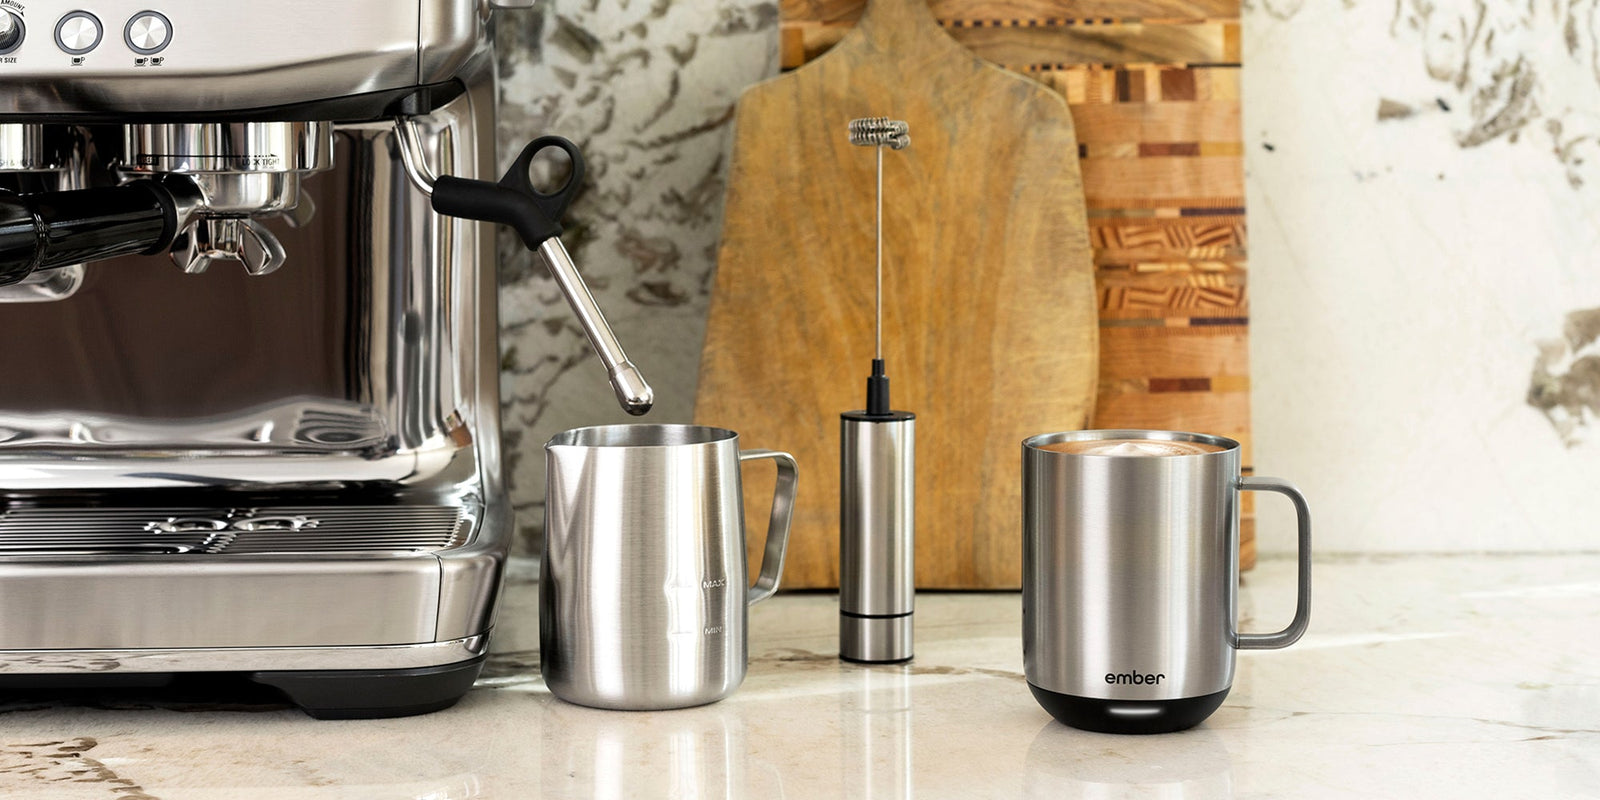
You have a few options for re-creating “steamed” milk without an actual steamer. Our personal favorite is ahigh-powered frothing wand, as it allows you to control how much froth you want to make and can create a swirling vortex in the milk similar to a real steaming wand.
How to Use a Frothing Wand:
- Once you’ve warmed your milk, pour it into a metal steaming pitcher. Position the frothing wand similarly to how you would position a steaming wand (at a slight angle, to one side of the pitcher, resting in the spout).
- Turn on the frothing wand until the milk has increased in volume by about 20%, trying to keep the wand submerged in the swirling vortex the entire time.
- Tap the pitcher firmly on the counter and swirl the milk to break up large bubbles.
Other Methods:
- Whisk the milk in a pot or bowl using a whisk, hand mixer, or immersion blender.
- Place the milk in a sealed jar and shake.
- Use a dedicated milk frother like this one fromNespresso.
- Froth milk in your French press by moving the plunger up and down until a froth is achieved.
Note that these methods will produce large bubbles and a drier foam that is tough to use for latte art. You can always slightly improve the texture by pouring the frothed milk into a steaming pitcher, tapping it firmly against the counter, and swirling it before adding it to your coffee.
Now, you’re ready to pour your milk into your coffee or espresso and enjoy! Once you’ve perfected your steaming or frothing skills, you can try your hand at all of theMost Popular Espresso Drinks. And if you want to give latte art a try, check out the tips in ourBeginner’s Guide to Latte Art.
Note that the foam will begin to dissipate as the milk cools, so to help it maintain its texture, we always recommend drinking it in yourEmber Mug² at your preferred drinking temperature.


