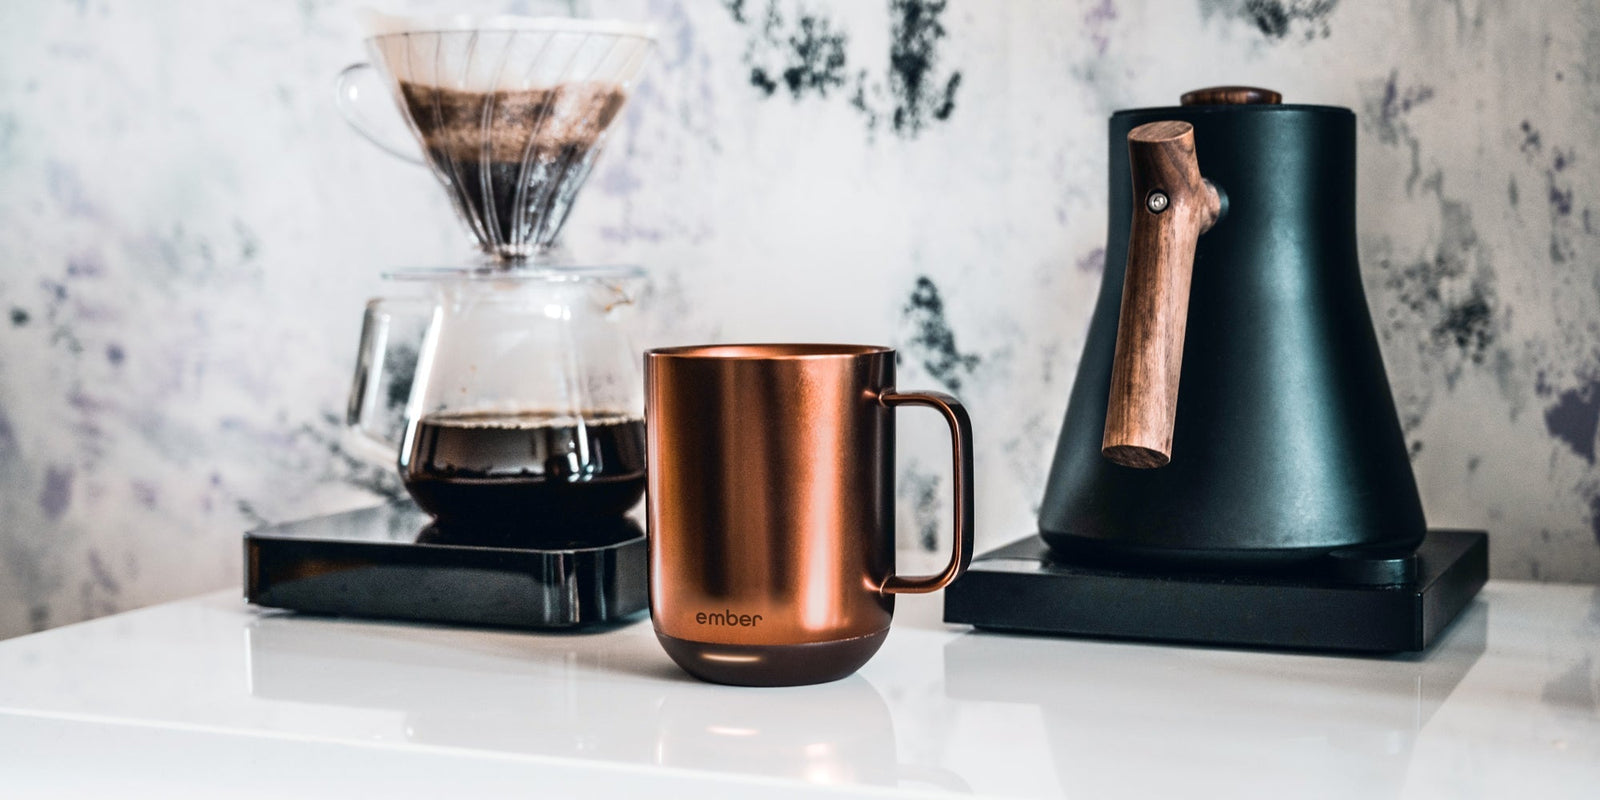
The Hario V60 coffee maker is one of the most popular pour over brewers available, rivaled only by the Chemex. While the basics of making pour over coffee apply to the V60, it has a few unique factors you’ll want to consider when brewing. Here’s what you need to brew a great cup of coffee with the V60.

What is a V60?
The Hario V60 is a pour over coffee brewer, named for its conical “V” shape and 60° angle. Its other trademark characteristic is the ridges that run along the inside cone, which help with airflow and decrease drawdown time (the time it takes for the water to drain from the brewer into the vessel below). Whereas other similar pour over brewers usually have a solid bottom with a few holes, the V60 is open at the bottom of the cone, further decreasing drawdown time. The combination of these two factors means it can be easy to under-extract coffee in a V60. With the right ratios and brewing method, however, V60 coffee is balanced, clean, and highlights the subtle flavors in specialty coffee.
V60 drippers come in a variety of materials including ceramic, metal, glass, and plastic. Of course, they vary in price and heat retention, but they all work similarly, overall. Hario also makes serving vessels that go beneath your V60. These are convenient for brewing large batches of coffee, but they aren't strictly necessary, as you can brew directly into your mug. This is one major benefit of a V60 – it’s a great single-serve coffee maker and, because it doesn’t require a serving vessel, takes up minimal space.
V60 Brew Recipe
What You'll Need
- V60 dripper
- V60 filter paper
- Scale
- Kettle
- Burr Grinder
- 15g medium fine coffee
- 250ml water/204°F(96°C) water temperature
- Brew for 2:30 minutes
Watch Video
Directions
- Fold filter paper along the seam and place into V60.
- Rinse the filter with hot water to preheat the brewer and remove the paper taste.
- Empty out the water and add 15g of coffee to the V60.
- Give it a gentle shake to create a flat coffee bed for even extraction.
- Place on your scale and tare.
- Start your timer and pour 50g of water for the bloom, being sure to evenly saturate the entire coffee bed.
- After 45 seconds, pour in 100g of water. Pour from the center out in concentric circles.
- After 60 seconds, pour in another 100g of water up to the total of 250g.
- After you finish the last pour, swirl the slurry to make sure all the coffee is saturated.
- Remove the V60 and pour into your Ember Mug²
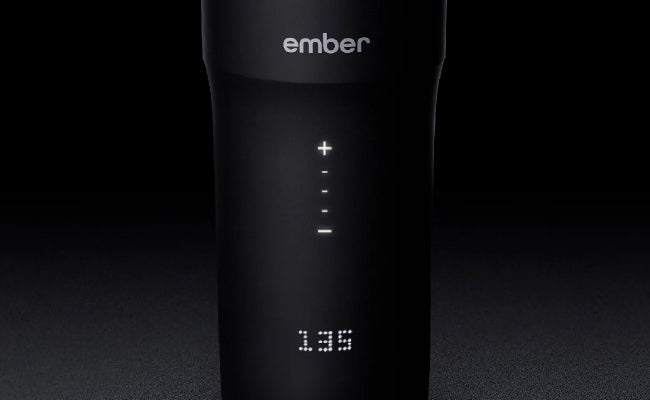
- Set your Ember Mug² to 129°F(54°C) to enjoy your coffee at the optimum temperature.

Ember Tips
While using a V60 isn’t difficult, it is a very precise, hands-on process, and mastering it can take a few tries. If your first few cups aren’t stellar, don't get discouraged.
- Remember to aim for even saturation of the coffee bed with every pour, and don’t skip that swirl.
- If your coffee tastes weak and sour, try decreasing grind size; if it’s overly bitter, try increasing grind size.
Need a larger batch?
This recipe can easily be doubled, though be aware that brew time will increase and you’ll need a larger serving vessel. If you’re just making a single cup, brewing directly into your Ember Mug² means the clean-up will be a breeze, and its precise temperature control preserves the hard work of your brew. We recommend a drinking temperature of 129°F(54°C) or below for V60 coffee. Pour over methods like the V60 are great for highlighting subtle, complex flavors in specialty coffee, and a lower drinking temperature will allow you to detect and appreciate them.
Enjoy your V60 brew at your favorite temperature in your Ember Mug².


