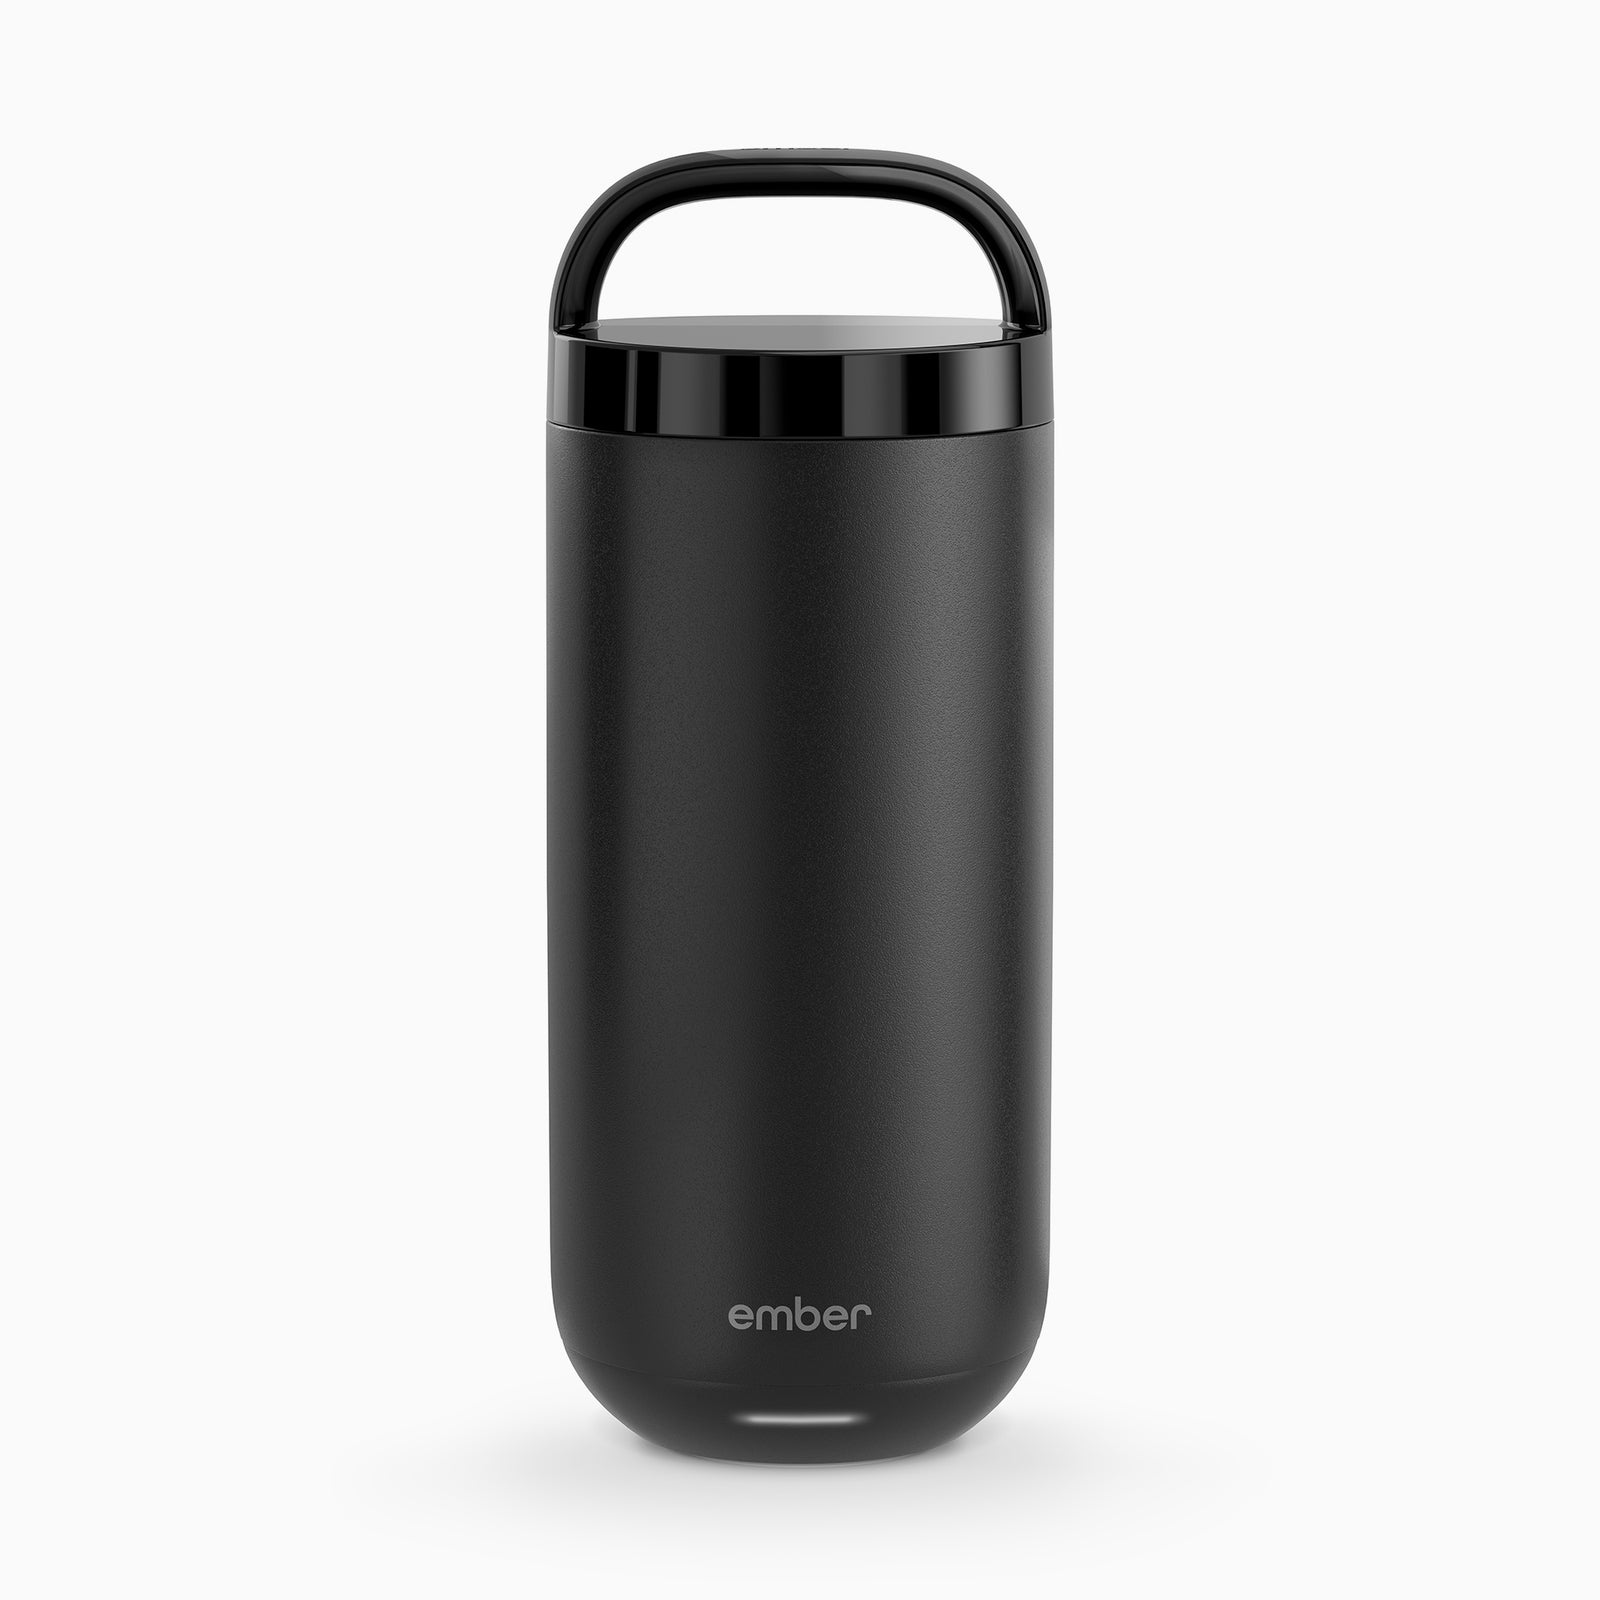
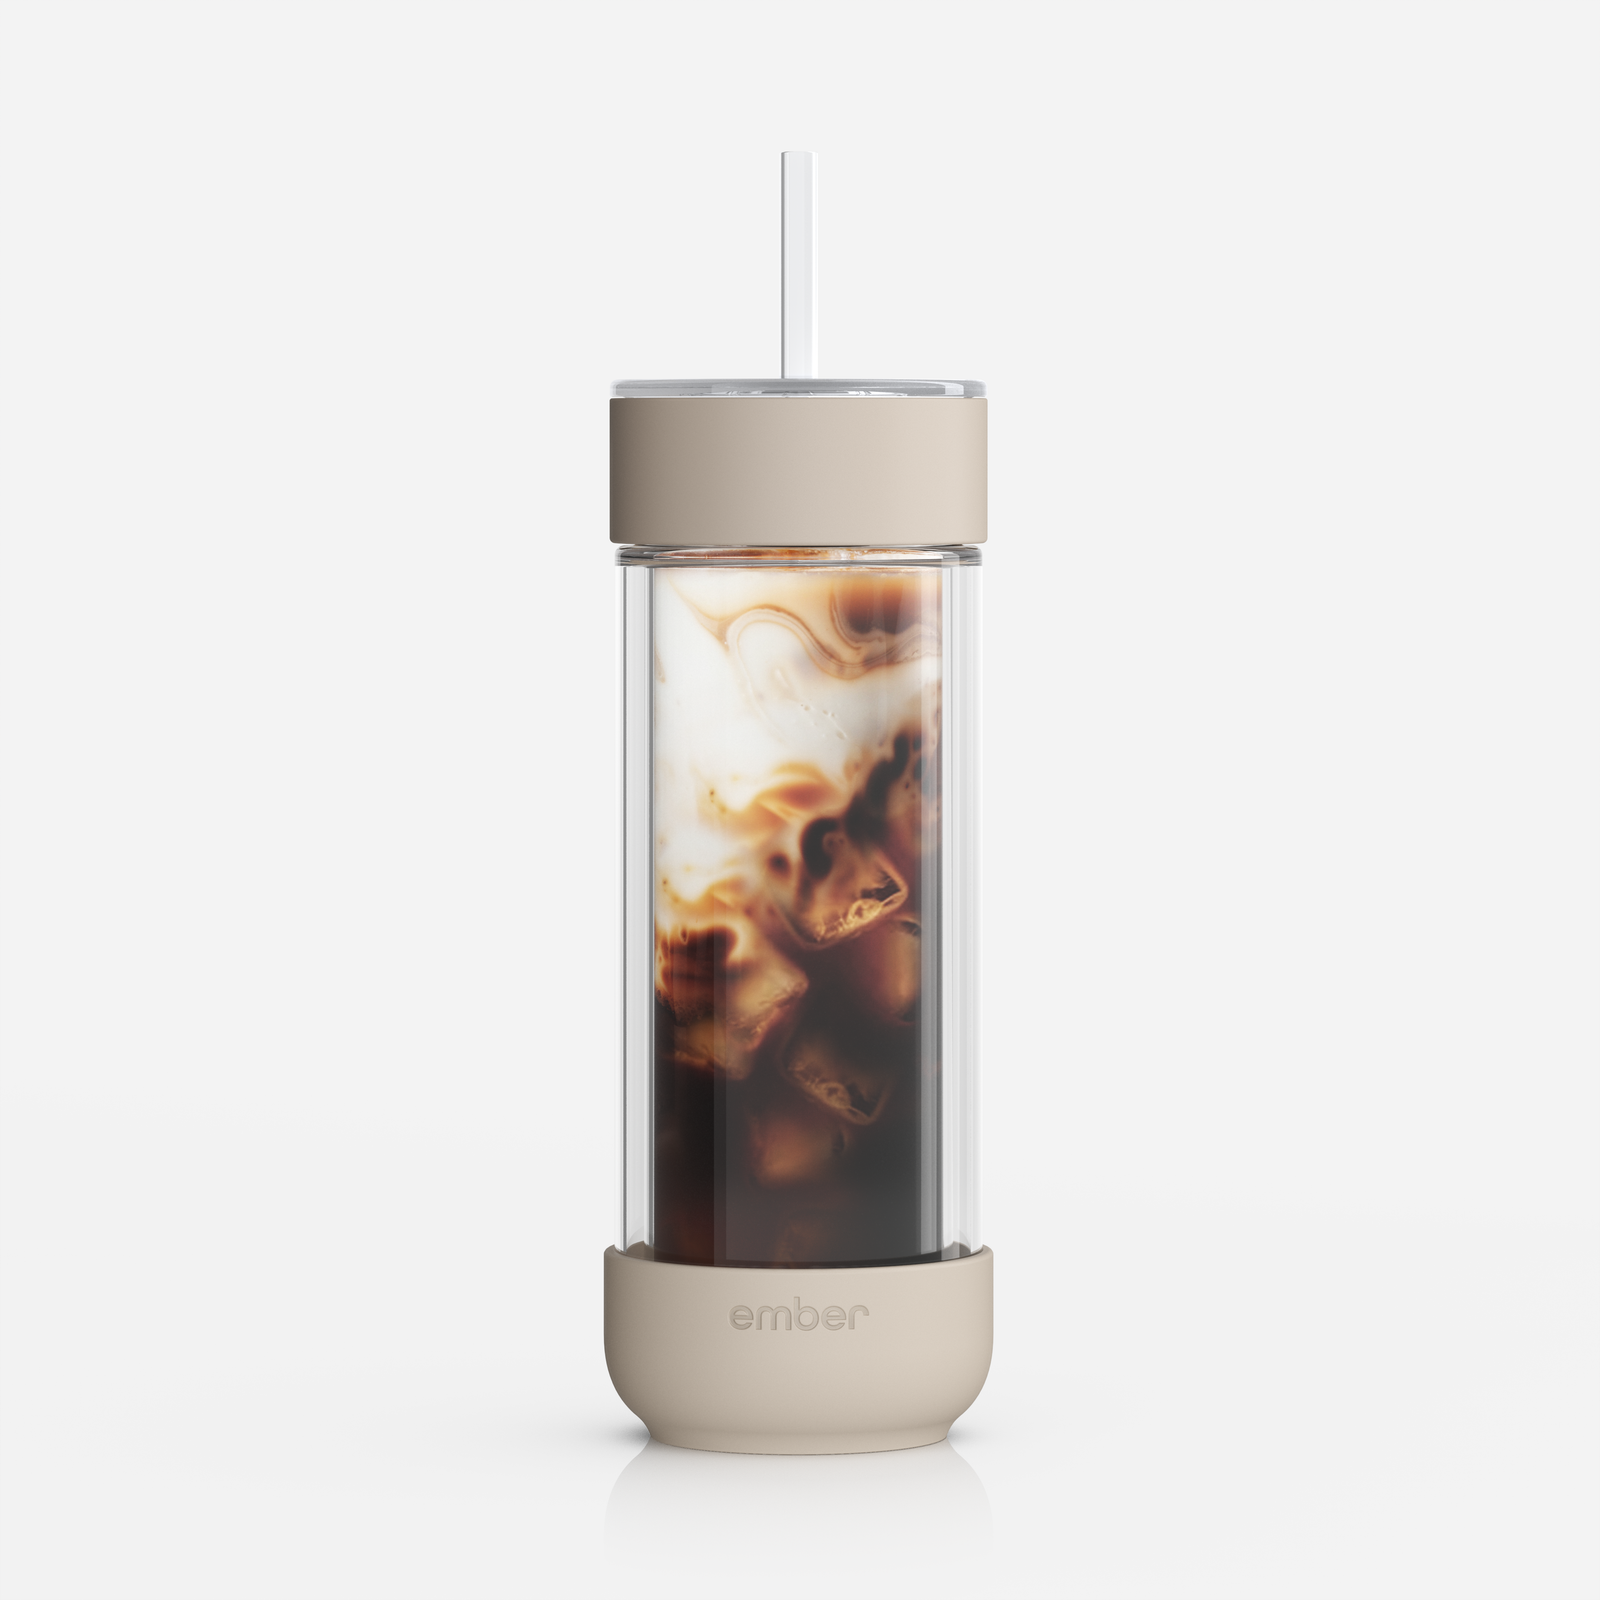
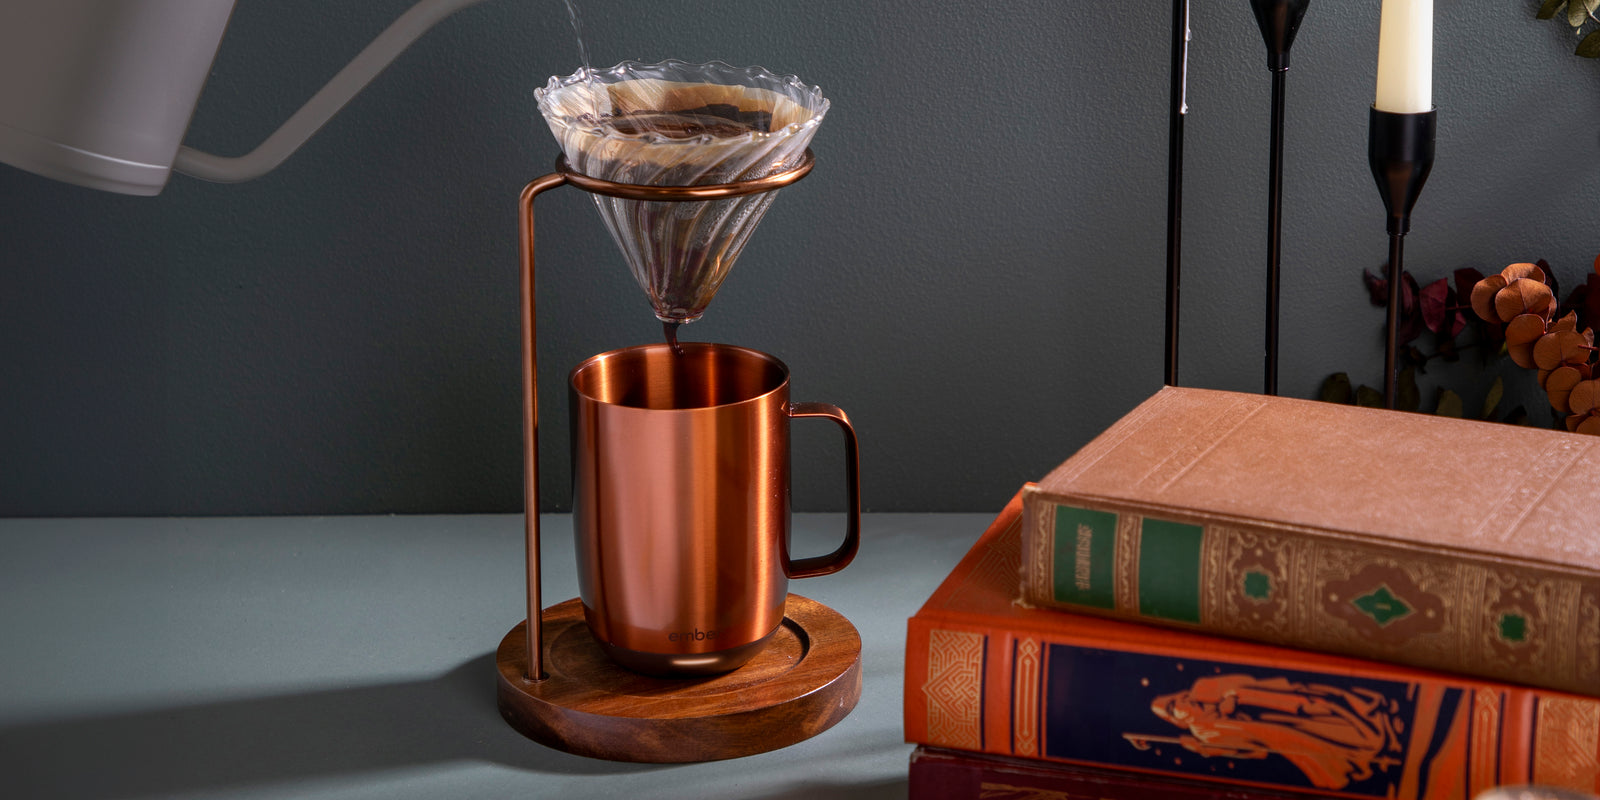
There's something undeniably magical about a well-brewed pour-over coffee. The ritual, the aromas, and the exquisite flavors that emerge with each carefully measured pour create an experience that transcends the ordinary. If you're looking to elevate your coffee game and savor the perfect cup of pour-over coffee, you've come to the right place. In this guide, we'll walk you through the steps to make the perfect pour-over coffee, served in your Ember Mug 2, turning your kitchen into a mini-coffee haven. Before we delve into the brewing process, let's gather the necessary ingredients and equipment.
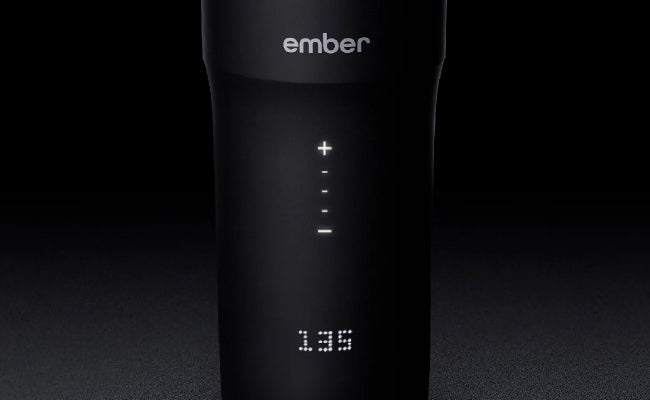
Drinking Temperature
Start at 135°F (57°C) and adjust to preferred temperature
Ingredients & Equipment
- Freshly roasted coffee beans
- Fresh, filtered water
- A digital scale
- A pour-over dripper (Hario V60, Chemex, oryour choice)
- Appropriate filters for your dripper
- A gooseneck kettle
- A burr grinder
- A timer
Ember Brews

Coava: S.O. Blend
Roast:Medium
Origin:The Americas & East Africa
Elevation:1200-1800 meters
Varietals:Regionally Dependent
Process:Washed and Natural
Tasting Notes:Honeycrisp apple, dark caramel & chocolate covered fruit
SHOP EMBER BREWSDirections
Step 1: Grinding Your Coffee Beans
The foundation of an outstanding pour-over coffee is freshly ground beans. Start by selecting the finest beans that ultimately suit your taste buds. To make your quest for the perfect brew easier, consider exploring Ember Brews for exceptional coffee options, like our latest addition, Coava's S.O. Blend, which promises a flavor profile that's both beautifully balanced and seasonally reflective with notes of honey crisp apple, dark caramel, and chocolate covered fruits. Once you've acquired the perfect beans, it's time to grind them. Use a burr grinder to achieve a consistent grind size. For pour-over, aim for a medium-coarse grind, resembling kosher salt. The ideal grind size will allow for a balanced extraction, bringing out the full flavor of your coffee.
Step 2: Heating Water
Boil fresh, filtered water. Once it reaches the boiling point, let it sit for about 30 seconds to a minute to bring it down to the ideal temperature, which is around 195-205°F (90-96°C). A gooseneck kettle will give you precise control over your pour.
Step 3: Preparing the Filter and Dripper
Place the filter in your dripper and rinse it with hot water. This step helps eliminate any papery taste and preheats your brewing vessel, but be careful not to change the shape of your filter if it resembles a cupcake liner. Discard the rinse water.
Step 4: Measuring and Adding Coffee Grounds
Weigh out the coffee grounds according to your desired coffee-to-water ratio. A good starting point is 1:16 (1 gram of coffee for every 16 grams of water), but you can adjust this ratio to your taste, ideally staying somewhere between 1:14 and 1:20. Place the coffee grounds into the prepared filter in your dripper. Try placing your dripper on a scale during the pour-over process. This is a great way to keep track of your water to coffee ratio, maintain consistency, and get the taste you're after.
Step 5: Blooming
Start your timer and pour just enough hot water (approximately twice the weight of the coffee grounds) to saturate them evenly. This is called the "bloom." Allow the coffee to bloom for about 30 seconds. During this time, you'll see the coffee grounds swell and release gases. The fresher the coffee, the bigger the bloom.
Step 6: The First Pour
After the bloom, begin pouring water in a slow, circular motion, starting from the center and moving outward. Pour the water evenly to avoid channeling, where water follows the path of least resistance. Continue pouring until you reach the desired coffee-to-water ratio, keeping an eye on your timer and the drawdown.
Step 7: The Drawdown
As the coffee drips into the vessel below, observe the drawdown time. A typical pour-over should take about 2-3 minutes for the drawdown. If it's too fast, your grind might be too coarse, and if it's too slow, your grind might be too fine. Adjust accordingly for your next brew.
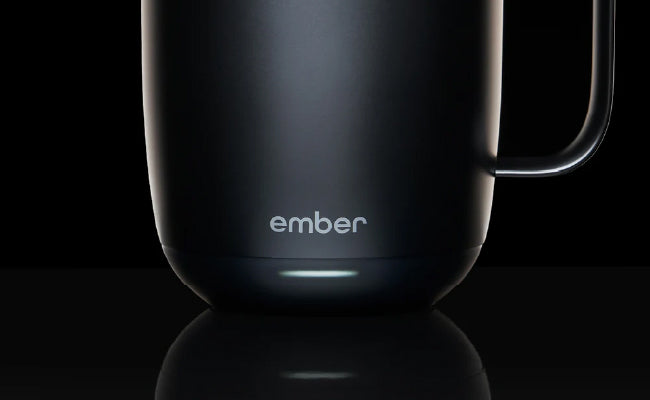
Step 8: Enjoying Your Perfect Pour-Over Coffee in Your Ember Mug 2
Once the drawdown is complete, remove the filter, and savor the aroma of your freshly brewed pour-over coffee. Pour it into your Ember Mug 2 and enjoy! You can drink it black or customize it with your choice of cream, sugar, or syrups.
Brewing the perfect pour-over coffee is an art form that requires patience, precision, and a love for the craft. With the right equipment, fresh beans, and a little practice, you can create a consistently delightful cup of coffee in the comfort of your own home. Remember, the key is to experiment and adjust your grind size, water temperature, and coffee-to-water ratio to find the flavor profile that suits your taste buds best. So, grab your pour-over setup and embark on a journey to coffee perfection—one pour at a time. After all the work you’ve put into crafting the perfect cup of coffee, be sure to drink it in an Ember Mug that will maintain the temperature long after you’ve prepared it, so you can properly enjoy your coffee creations. Your taste buds will thank you!

