


Much like understanding how to use an espresso machine, learning to properly operate your coffee grinder can be the difference between a great cup of coffee and something less desirable..
The fact is the grind size makes a big difference in how coffee tastes. Anything from using the wrong size to getting inconsistent grinds can end up creating brews that are bitter, sour and downright unpalatable.
However, if you learn to master setting your coffee grinder size, you can up your home brew game in significant ways. To help make sure you are getting the tastiest coffee imaginable, here is how to become an expert at using your coffee grinder.

1. Change Only the Coffee Grind Size
When learning how to use your coffee grinder and set your ground size, it is important that you only change the ground size. This means that you must keep the water temperature, brew method, coffee dose and the like exactly the same. If you alter any of these variables, you won’t be able to ascertain how changing the ground size affects the final product.
2. Begin with the Last Used Setting
To begin, you will want to make your first cup of coffee at the grind setting that you used last. However, if the coffee grinder is brand new and you are trying it for the first time, using the middle setting is a good starting place. Also, if the coffee grinder is brand new, the blades will be particularly sharp, which means that it may take a few more trials
3. Vary Grind Settings Slightly
After you have brewed a cup at your “baseline” setting, you will want to brew two more cups, one that is slightly coarser and one that is slightly finer. The reason that you only want them to be marginally different in their sizes is that small variations can have a big impact on taste. Therefore, only adjust the coffee grinder by one or two numbers (which are called “steps”) for each variation.
4. Reflect on Your Preferences
Before diving into the taste test, it is important to take a moment to reflect on what flavors you enjoy in a coffee.
For instance, if you like light roasts, you might be partial to fragrant and fruity flavors. However, if you tend to drink medium roasts, you might be chasing more chocolatey, nutty notes. If you are more of a dark roast aficionado, you probably appreciate something bolder with a bit of bite.
5. Taste Each Cup
Now is the time to taste each cup in a side-by-side comparison. Take the time to taste each one slowly, noticing where the coffee’s flavors land on your tongue.
If any of the coffees are sour and hit at the sides of your tongue and mouth, then the coffee is under-extracted and the grounds are still too coarse. Alternatively, if the brew is bitter and leaves an unpleasant taste that lingers at the back of your tongue, it is over-extracted as a result of the grind being too fine.
6. Experiment with Multiple Batches
You might not find the perfect coffee grind size in your first batch, and that’s okay. That said, you are undoubtedly closer to finding the sweet spot you are after, so go ahead and repeat the process, using the settings of the best of the three previously brewed cups as your new baseline.
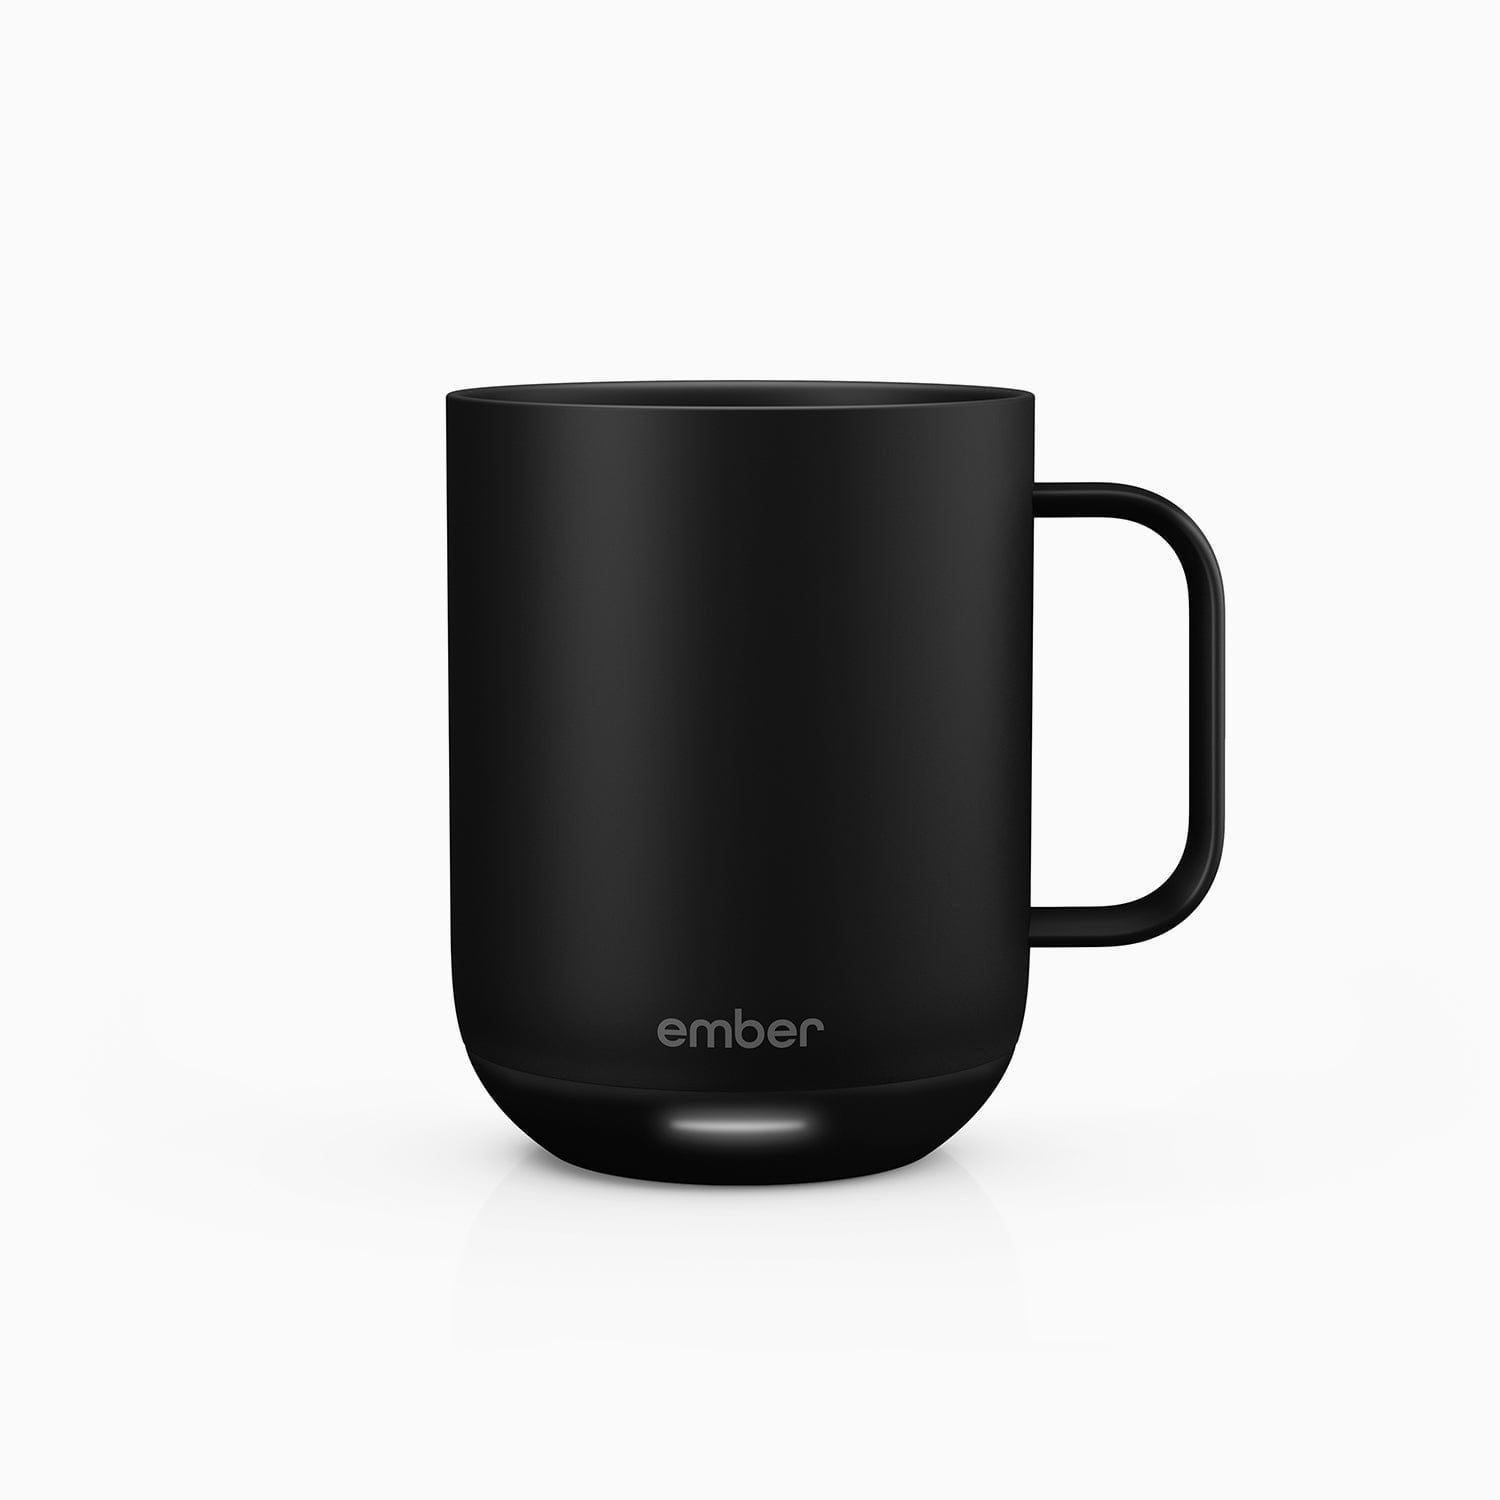
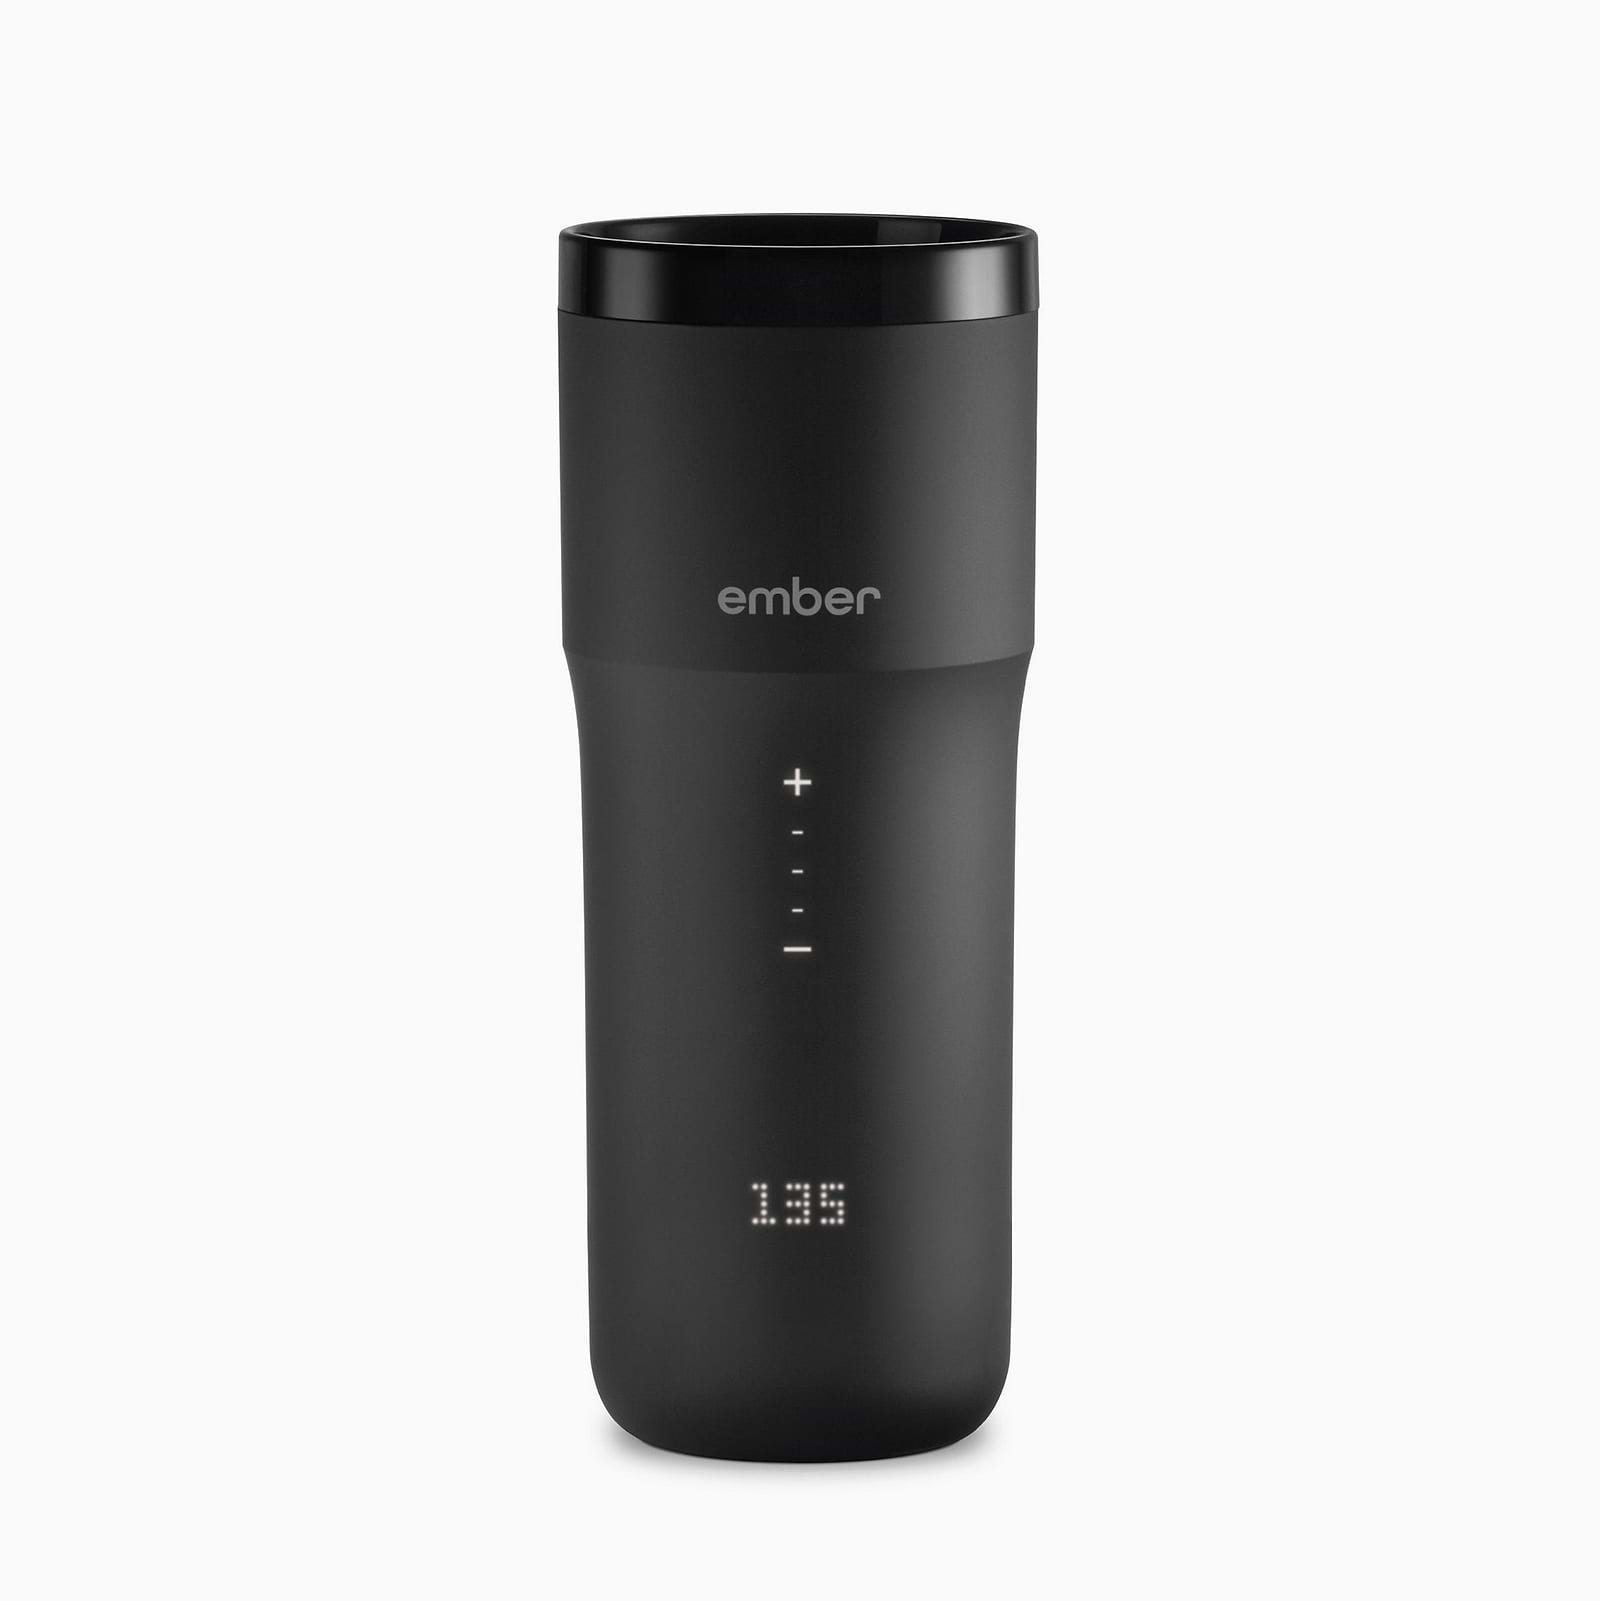
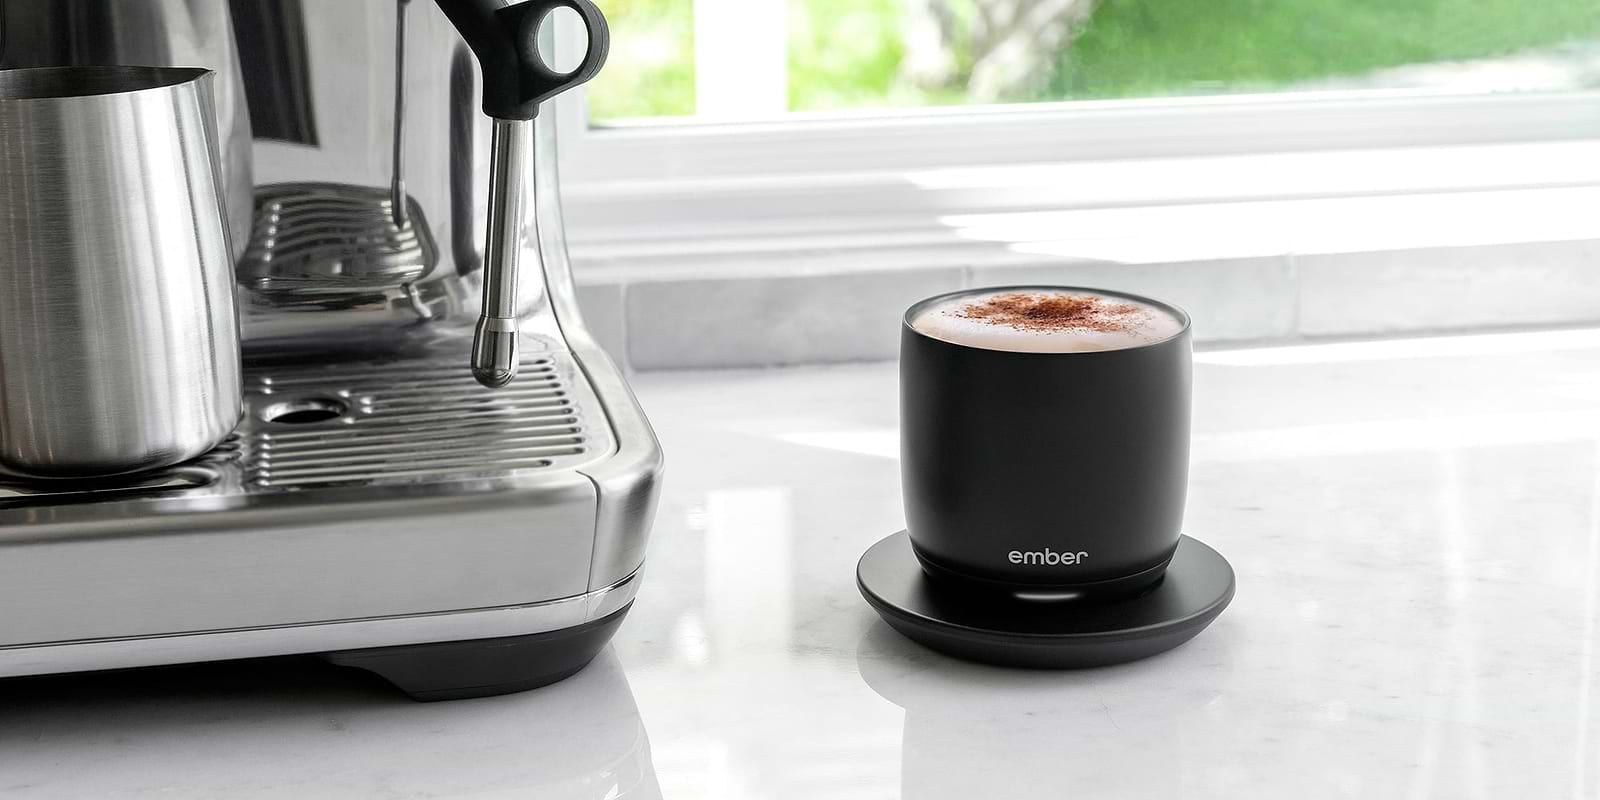
Once you have perfected your coffee grind size, enjoy your coffee in the best way possible by drinking it out of an Ember Mug² set to 135°. If it’s an espresso creation, then try the all newEmber Cup.